
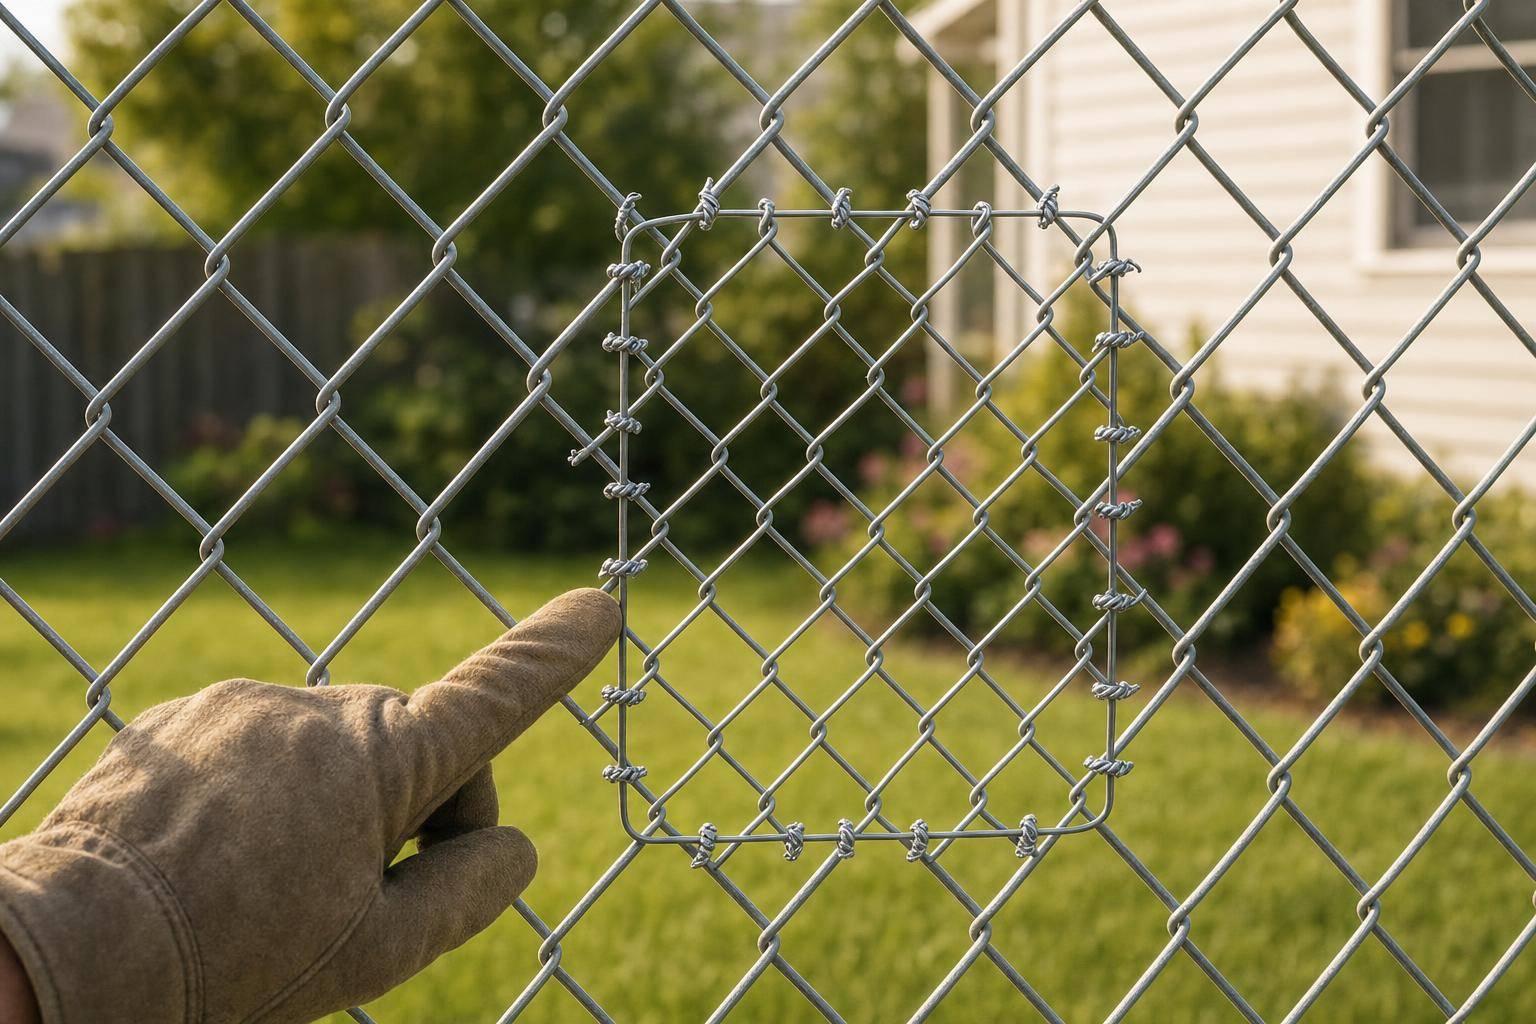
Most small chain link fence holes can be fixed in five basic steps without replacing a full section. If the damage stays in one spot and the posts and frame are still straight, I’d patch it by checking the hole, matching the mesh, cutting a patch, fastening it, and doing a final safety check.
Here’s the short version:
- Step 1: Clear plants and inspect both sides of the hole
- Step 2: Match the mesh by wire type, coating, color, and pattern
- Step 3: Cut the patch a bit larger than the hole and fold back sharp ends
- Step 4: Attach it with hog rings, fence ties, or tie wire
- Step 5: Check for loose fasteners, gaps, and sharp points
A patch is usually the right move for small to medium damage. But if the tear runs several feet, the fence is leaning, or the frame is bent, I would stop there and call a fence pro instead.
A few safety basics matter here too. Heavy gloves and eye protection help prevent cuts from sharp wire. And after the repair, I’d check it again after a heavy storm or snowfall, since weather can loosen a patch over time.
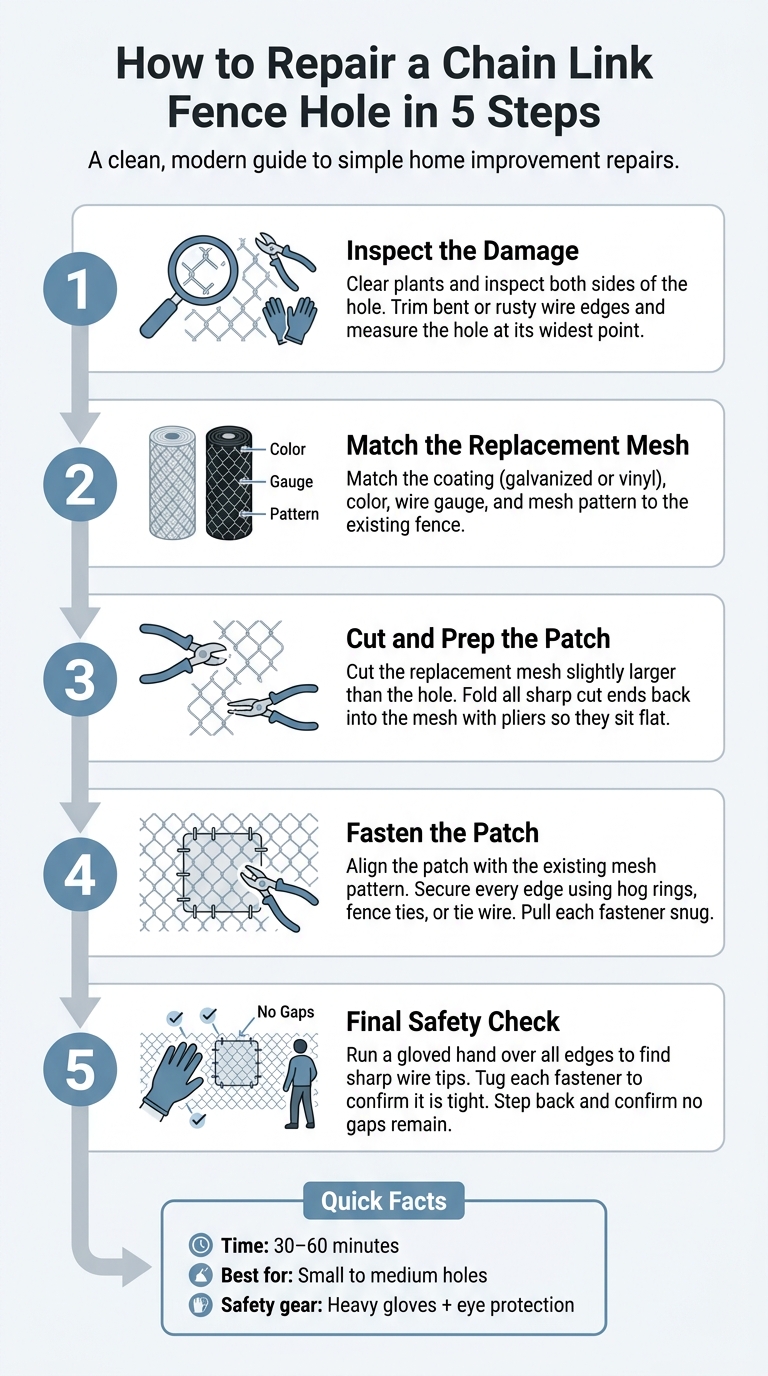
How to Repair a Chain Link Fence Hole in 5 Steps
Like New Again! Fix Damaged Chain Link Fabric
sbb-itb-d1d0a96
Quick Comparison
| Part of the job | What to look for | What I’d do |
|---|---|---|
| Damage check | Rust, bent wire, loose edges, hidden weak spots | Trim weak wire and measure the hole |
| Material match | Same coating, color, wire size, and mesh pattern | Use matching replacement mesh |
| Patch prep | Sharp cut ends | Fold ends back with pliers |
| Fastening | Patch shifting or gaps | Secure each edge snugly |
| Final check | Loose ties or exposed wire tips | Tighten fasteners and press sharp ends down |
Bottom line: if the mesh around the hole is still solid, this is often a simple repair with a low material cost and about 30 to 60 minutes of hands-on work for one small patch.
Tools and Materials You Will Need
Before you start patching the fence, get everything within reach. That makes the job smoother and helps you avoid stopping halfway through because you’re missing one small part.
You’ll need wire cutters to trim the patch and snip away damaged edges. Keep pliers handy too. They’re what you’ll use to twist fence ties and close hog rings.
For materials, grab a piece of replacement mesh that’s big enough to cover the hole. You’ll also need hog rings or fence ties to secure the patch to the old fence. Try to match the wire size and finish to what’s already there so the repair blends in and holds up better.
Safety matters here. Put on heavy leather gloves to protect your hands from sharp metal edges, and wear safety glasses to shield your eyes from flying wire pieces.
| Category | Item | Purpose |
|---|---|---|
| Tools | Pliers | Twist fence ties and close hog rings |
| Tools | Wire Cutters | Trim the patch wire and remove damaged sections |
| Materials | Replacement Mesh | Fill the hole with a consistent pattern and thickness |
| Materials | Hog Rings / Fence Ties | Fasten the new patch to the existing fence structure |
| Safety Gear | Heavy Leather Gloves | Protect hands from sharp metal edges |
| Safety Gear | Eye Protection | Guard against flying wire pieces |
Before cutting the patch, hold the replacement mesh up against the fence and compare it closely. You want the pattern, wire size, and finish to line up as well as possible. Once that’s set, you can move on to checking the damage.
1. Check the Damage and Clear the Area
Before you patch anything, inspect the hole from both sides. What looks small at first can hide bent wire, rust, or weak edges that need to be cut back.
Clear away vines, weeds, and brush, including any growth along the ground, so you can see the entire damaged spot. If vines are woven through the fence, unthread them carefully instead of yanking them loose.
Then check the edges of the hole for bent wire, rust, or loose wire ends. Trim back any weak sections, and measure the hole at its widest point so you can size the patch correctly.
Once you know the hole’s widest point and the shape of the edges, it’s much easier to match the replacement mesh.
2. Match the Replacement Material
After you measure the hole, pick replacement mesh that matches the fence as closely as possible. With standard chain link, that usually means matching the coating and color. If the fence is galvanized, use galvanized mesh for the patch. If it has a vinyl coating, use the same coating and color so the repair blends in and helps resist corrosion.
For other mesh types, match the mesh style, wire gauge, and finish. Don’t use leftover mesh unless the wire size, opening pattern, and finish line up with the rest of the fence. Once you have a match, cut the patch slightly larger than the hole.
3. Cut the Patch Wire to Size
Trim the oversized mesh patch so it matches the hole’s final shape, then check every edge for sharp wire tips.
Wear gloves when you handle the cut wire. Those ends can be nasty. Fold each cut end back into the mesh so it sits flat and doesn’t stick out. Once the edges are folded down, the patch is ready to secure.
4. Fasten the Patch in Place
Once the patch is cut and folded flat, attach it to the fence. If the damage is extensive, you may want to request a fencing quote for professional repairs. Set the patch flat against the fence and line up the mesh pattern with the wire around it.
Secure each edge with hog rings or fence ties. Pull each one snug so the patch stays tight against the existing mesh.
Press down any exposed wire ends so the patch sits flush and won’t snag hands or clothing.
5. Do a Final Safety Check
Once the patch is fastened, give the repair one last look before you call it done.
Put on work gloves and run your hand near the patch edges. You’re checking for wire ends that stick out. If you find any, press them back with pliers.
Then check each fastener point. Every hog ring or tie should sit tight against the fence with no movement. If a wrap feels loose, fix it now. A loose connection can give way under pressure, especially if animals lean on the fence or snow piles up along the bottom.
Step back and look at the full patch. It should line up evenly with the rest of the fence and leave no gaps. It’s also smart to check the repair again after the first heavy storm or snowfall, since rough weather can shift or loosen even a solid repair over time.
For more installation tips and expert advice, If you’re comparing fastener options, see the table below.
Fastener Comparison Table
Use this quick reference to pick the right way to secure the patch.
| Fastener | Best Use | Notes |
|---|---|---|
| Hog Rings | Crimping the patch wire right to the existing mesh | Fast and secure; use pliers or hog ring pliers to close each ring tightly |
| Fence Ties | Looping around the patch edge and the fence wire at each corner and midpoint | Flexible and easy to adjust; make sure each tie is snug with no slack |
| Tie Wire | Twisting wire snugly around a post or fence wire | Wear leather gloves when handling stiff wire |
If the repair still shifts or opens up, stop and call a fence professional.
When to Call a Fence Professional
If your final safety check shows the fence is still unstable, stop the repair and call a professional.
You should also call a pro if the mesh around the hole is loose, sagging, or stretched. The same goes for damage that reaches a post, top rail, or several sections of the fence. Big impacts, like a vehicle hit or a fallen tree, usually mean the section needs to be replaced.
If you don’t see any of those warning signs, the patch is ready to use.
Conclusion
Fixing a chain link fence hole comes down to five clear steps: inspect the damage, match the mesh, cut an overlapping patch, fasten it in place, and check for sharp edges. At this point, there’s just one thing left to do: the final safety check.
Run a gloved hand over the patch and tug each fastener. If nothing shifts and no sharp edges catch the glove, the repair is ready.
FAQs
How big can a hole be before patching isn’t enough?
A patch usually does the job for a small hole.
But there’s a point where a patch just won’t cut it. If the hole weakens the panel itself, or the mesh is so bent out of shape that it can’t keep proper tension, a simple repair is often not enough.
If you’re not sure whether your fence needs a repair or a full replacement, Tend Fencing can help you assess it.
Can I use leftover mesh for the patch?
Yes – if it matches the gauge, mesh size, and material of your existing fence. Using a matching piece helps keep the repair strong and keeps the fence looking consistent.
When you cut the patch, leave extra wire around the edges so you can weave it into the existing mesh and secure it well. If the patch doesn’t match, the repair can affect both strength and appearance.
How long should a chain link fence patch last?
The information provided doesn’t say how long a chain link fence patch should last.
Patch life can vary, but there’s no exact time frame given here.