
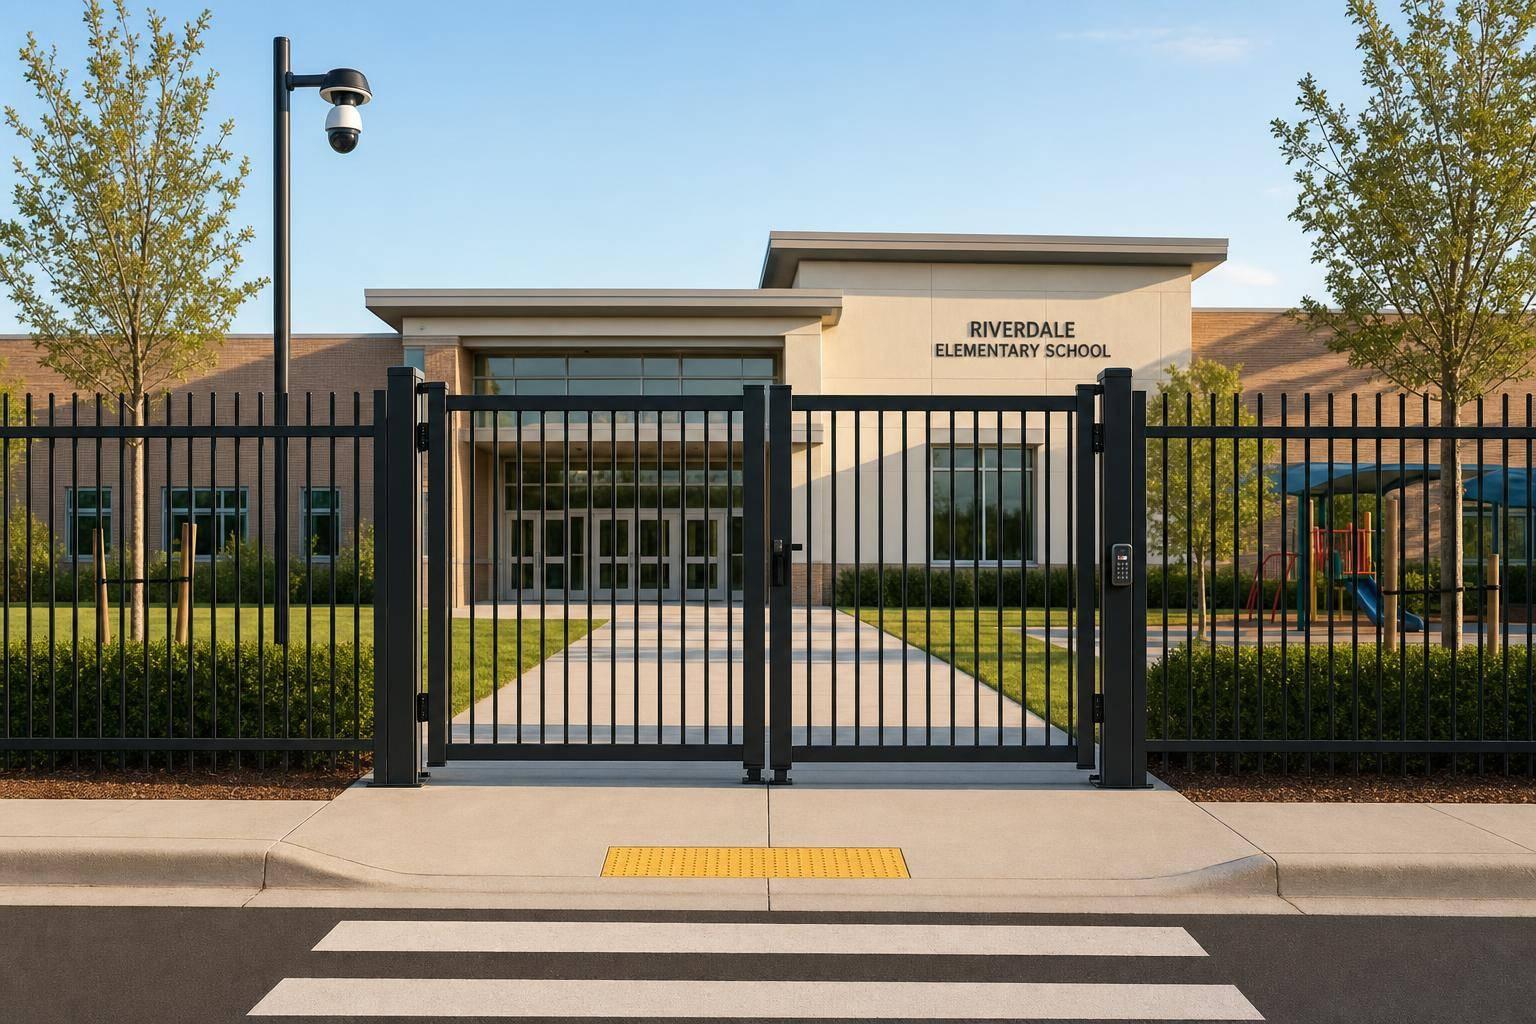
A school fence should do four things well: mark the boundary, control entry, keep sightlines open, and hold up over time.
If I had to boil this guide down, I’d say this: pick fence height by area, use see-through materials where staff need visibility, place gates by purpose, and inspect the fence on a set schedule. The article also points out a simple maintenance truth: small fence problems can turn into access gaps if staff wait too long to fix them.
Here’s the short version:
- Fence layout matters as much as material
- Play areas, parking lots, sports zones, and service areas need different setups
- Welded wire, mesh panels, ornamental iron, chain link, and wood each fit different school uses
- Open visibility helps staff supervision and camera coverage
- Before installation, schools should review the site, confirm property lines, check code, and call 811
- After installation, gates, hardware, posts, mesh, and vegetation need routine checks
- Monthly and annual inspections lower the risk of weak spots, blocked views, and gate failure
A few points stand out from the article:
- Gates are the main control points, so latch checks should happen monthly
- Sensors and hardware may need checks weekly or monthly
- Posts and footings should be checked at least annually and after storms
- Vegetation growth can block views and cover approach paths if crews do not clear it on schedule
Quick Comparison
| Area | Main focus | Best-fit approach |
|---|---|---|
| Playground/student zones | Student safety and boundary control | Clear-view fencing with child-safe, anti-climb details |
| Main entrance | Visitor direction and supervised access | Visible fencing with gates built for managed entry |
| Sports areas | Ball control and perimeter coverage | Chain link or ball-stop mesh |
| Service zones | Limited screening and controlled access | Small privacy sections, locked gates |
| Full perimeter | Boundary line and site control | See-through materials, mapped gate use, routine inspection |
If you want a plain answer: the best school fence is one that people can see through, staff can manage, students can’t climb with ease, and crews can keep in good shape month after month.
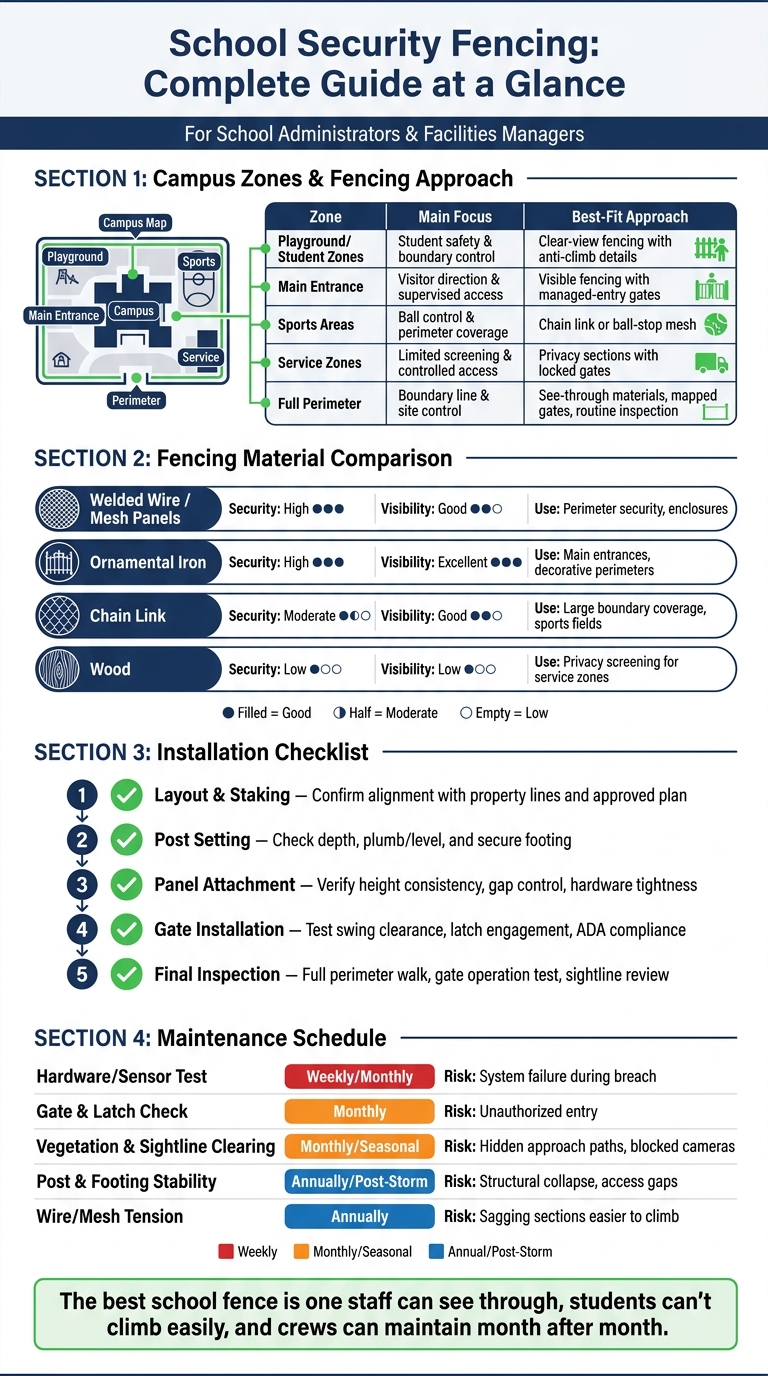
School Security Fencing: Materials, Zones & Maintenance at a Glance
Complete Fencing and Access Solution for Greenlands Primary School | Jacksons Fencing
sbb-itb-d1d0a96
School Fence Design: Height, Layout, and Safety Standards
School fence design needs to fit how each part of the campus is used. A playground doesn’t need the same setup as a parking lot. A main entrance has different demands than a staff-only service gate. That’s why height, spacing, and gate placement should line up with risk, foot traffic, and access needs. Those choices also shape the material and gate setup that come next. Once campus zones are defined, height and access can be set by function.
Choosing the Right Fence Height for Each Area
Fence height should match the area it protects. In athletic zones, use ball-stop mesh to keep balls and other equipment contained without blocking sightlines.
Anti-Climb and Child-Safe Design Details
Avoid exterior rails, ledges, and other footholds on the climb side. That small detail can make a big difference. Safe school fencing should preserve sightlines without giving students an easy way to climb.
For balconies, stairwells, and elevated walkways, use full-height mesh barriers that help prevent falls without blocking sightlines.
Planning Gates, Entry Points, and Emergency Access
Each gate should have one clear job: pedestrian entry, vehicle access, staff-only entry, or emergency egress. That keeps movement simple and cuts down on confusion during the school day.
Vehicle and emergency access points should support daily use while still reinforcing the perimeter. Unused gates should stay locked, and emergency access should be mapped in advance so first responders can get in fast when time matters. These decisions help narrow the best material options in the next section.
Best Fencing Materials for School Security
The material you choose for commercial fence installation shapes more than the look of the barrier. It affects supervision, sightlines, privacy, and how well each part of campus can be watched. The right pick depends on the zone and how people need to move through it.
Welded Wire, Ornamental Iron, Chain Link, and Wood
Welded wire and mesh panels are a strong fit for perimeter security because they combine strength with clear visibility. Staff can see through them, which helps with monitoring and camera coverage. Stainless steel cable mesh systems can also support more than one safety use in school settings, including railing infills, ball catch mesh, and floor-to-ceiling fall protection.
Ornamental iron is a good match for main entrances and decorative perimeter areas. It gives you visibility while still looking polished, which matters at the front of campus.
Chain link makes sense for long boundary lines and sports fields. It covers large areas well and offers a middle ground on security.
Wood has a much smaller role in school security. The main issue is simple: it blocks sightlines. That makes it a poor choice for most perimeter areas, but it can still work for privacy screening in service zones.
Visibility vs. Privacy in Campus Fence Selection
See-through fencing isn’t just about appearance. It’s a security decision.
Open fencing helps staff keep an eye on entrances, courtyards, and play areas without creating blind spots. It also works better with camera coverage and patrols across campus. A solid fence can hide intruders from view, but it can also hide what staff need to see.
That said, privacy screening still has a place. Service zones may need some visual screening to keep back-of-house areas out of view. The trick is to keep those screened areas small and intentional instead of stretching solid fencing across the full perimeter.
Material Comparison: Security, Visibility, and Common Use
| Material | Security Level | Visibility | Common School Use |
|---|---|---|---|
| Welded Wire / Mesh Panels | High | Good | Perimeter security, enclosures |
| Ornamental Iron | High | Excellent | Main entrances, decorative perimeters |
| Chain Link | Moderate | Good | Large boundary coverage, sports fields |
| Wood | Low | Low | Privacy screening for service zones |
Once the material is set, the next move is to match it to the site layout, code rules, and gate locations.
How to Plan and Install School Security Fencing
Once the ornamental steel fencing is selected, the next step is the site itself. The location shapes how the fence should be installed. That’s why installation needs to start with a site review that locks in the fence line, gate locations, and code rules before any work begins. After that layout is approved, the project moves from planning into the build.
Start With a Site and Risk Assessment
Walk the entire perimeter before you draft the layout. Pay close attention to concealment areas, blind spots, and every point where the fence line meets nearby properties. That includes entrances, pickup areas, athletic fields, and service access.
This early review does more than spot trouble areas. It helps define the campus’s security zones and shows where cameras, lighting, and other security features may need to go. From there, use those findings to mark the approved fence path before any staking starts.
Surveys, Codes, and Utility Locates Before Digging
After the site review is complete, confirm the property lines with a survey from a licensed surveyor. Then check local fence codes, including setback, height, and right-of-way rules that could affect the layout.
Before any excavation begins, call 811 so underground utilities can be marked. It’s a simple step, but it keeps the crew safer and helps avoid costly mistakes.
Installation Sequence and Quality Checks
Once permits are in place and utility marks are done, the crew can lay out the fence line with stakes and string, set posts, attach panels, and then install gates and any security components. If the system includes lighting or sensors, use weather-rated parts built for outdoor use.
| Phase | Key Checks |
|---|---|
| Layout & staking | Alignment with property lines, gate clearances, layout matches the approved plan |
| Post setting | Depth per spec, plumb and level, secure footing before loading |
| Panel attachment | Height consistency, gap control at grade, hardware tightness |
| Gate installation | Swing clearance, latch engagement, accessibility compliance where required |
| Final inspection | Full perimeter walk, gate operation test, sightline review |
Record any defects found during the final walk. That gives the maintenance team a clear starting point from day one.
Maintenance, Repairs, and Long-Term Fence Performance
Once fence installation is complete, the work isn’t over. Maintenance is what keeps it doing its job.
When upkeep slips, a school fence can lose security value fast. Loose hardware, damaged sections, and overgrown vegetation can weaken access control and block sightlines. Regular inspections help spot small issues before they turn into breaches.
What to Inspect Monthly and Annually
Monthly walkthroughs should focus on the parts that tend to fail first: gate latches, loose fittings, and anything blocking the fence line. If the fence uses sensors or other electronic parts, test them on schedule so failures don’t go unnoticed early. Posts and footings also need a close look after storms, since shifting soil can affect stability.
The table below breaks down the main tasks, how often to inspect them, and what can go wrong if they’re ignored.
| Maintenance Task | Inspection Interval | Security Risk of Neglect |
|---|---|---|
| Vegetation and sightline clearing | Monthly/Seasonal | Reduced visibility; interference with sensors or electric current; hidden approach for intruders |
| Gate & latch check | Monthly | Unauthorized entry; failure of the primary access control point |
| Hardware/sensor test | Weekly/Monthly | System failure during a security breach; loss of early warning |
| Post & footing stability | Annually/Post-Storm | Structural collapse; gaps created by soil erosion or heavy snow |
| Wire/mesh tension | Annually | Sagging sections that are easier to climb or breach |
Managing Vegetation, Weathering, and Daily Wear
Weather and plant growth are two of the biggest threats to fence performance over time. Shrubs, weeds, and other overgrowth can block sightlines and put added stress on fence materials. That’s why regular clearing matters. A visible fence line helps the perimeter keep working as a deterrent.
After storms, inspect post stability and wire or mesh tension before normal use resumes. Heavy weather can loosen hardware or shift the ground under the fence. Those problems are far easier to fix early than after they spread.
The same idea applies to everyday wear. A loose fitting or small damaged section may not look like much at first, but small issues have a way of snowballing. Fix them early, and the fence is much more likely to keep doing what it’s there to do.
Conclusion: Key Elements of an Effective School Fence
An effective school fence depends on routine maintenance just as much as design. Keep vegetation under control, make sure gates lock and latch the way they should, test security hardware on schedule, and inspect posts and mesh after storms. When those checks happen consistently, the fence is far better positioned to support access control, clear sightlines, and long-term structural performance.
FAQs
What fence height is best for each school area?
The available sources do not say how tall a school fence should be for different areas.
What they do cover is limited to:
- X-TEND stainless mesh features
- Electric fencing height advice for honey bees and wildlife
That doesn’t give enough information to answer a school fencing question with confidence.
To answer this well, you’d need a source that spells out fence height recommendations for school spaces such as the perimeter, playground, sports fields, or drop-off zones.
Which fence material offers the best visibility and security?
Stainless steel cable mesh is a smart fit for school security fencing because it gives you strong protection without blocking visibility.
Its transparent, lightweight, and durable design creates a sturdy barrier that helps secure the perimeter while still keeping the space open and welcoming. You can also choose different mesh sizes based on the level of security needed in each area.
That means a school can tighten access where it matters most without making the whole campus feel closed off or harsh.
How often should a school fence be inspected?
Regular inspections matter. Do simple visual walk-throughs around the perimeter to spot damage, loose parts, or signs of tampering, especially after severe weather.
Check gates too. They should open and close the way they should and stay securely locked when needed.
On top of those routine checks, set a steady schedule for more formal maintenance assessments.