
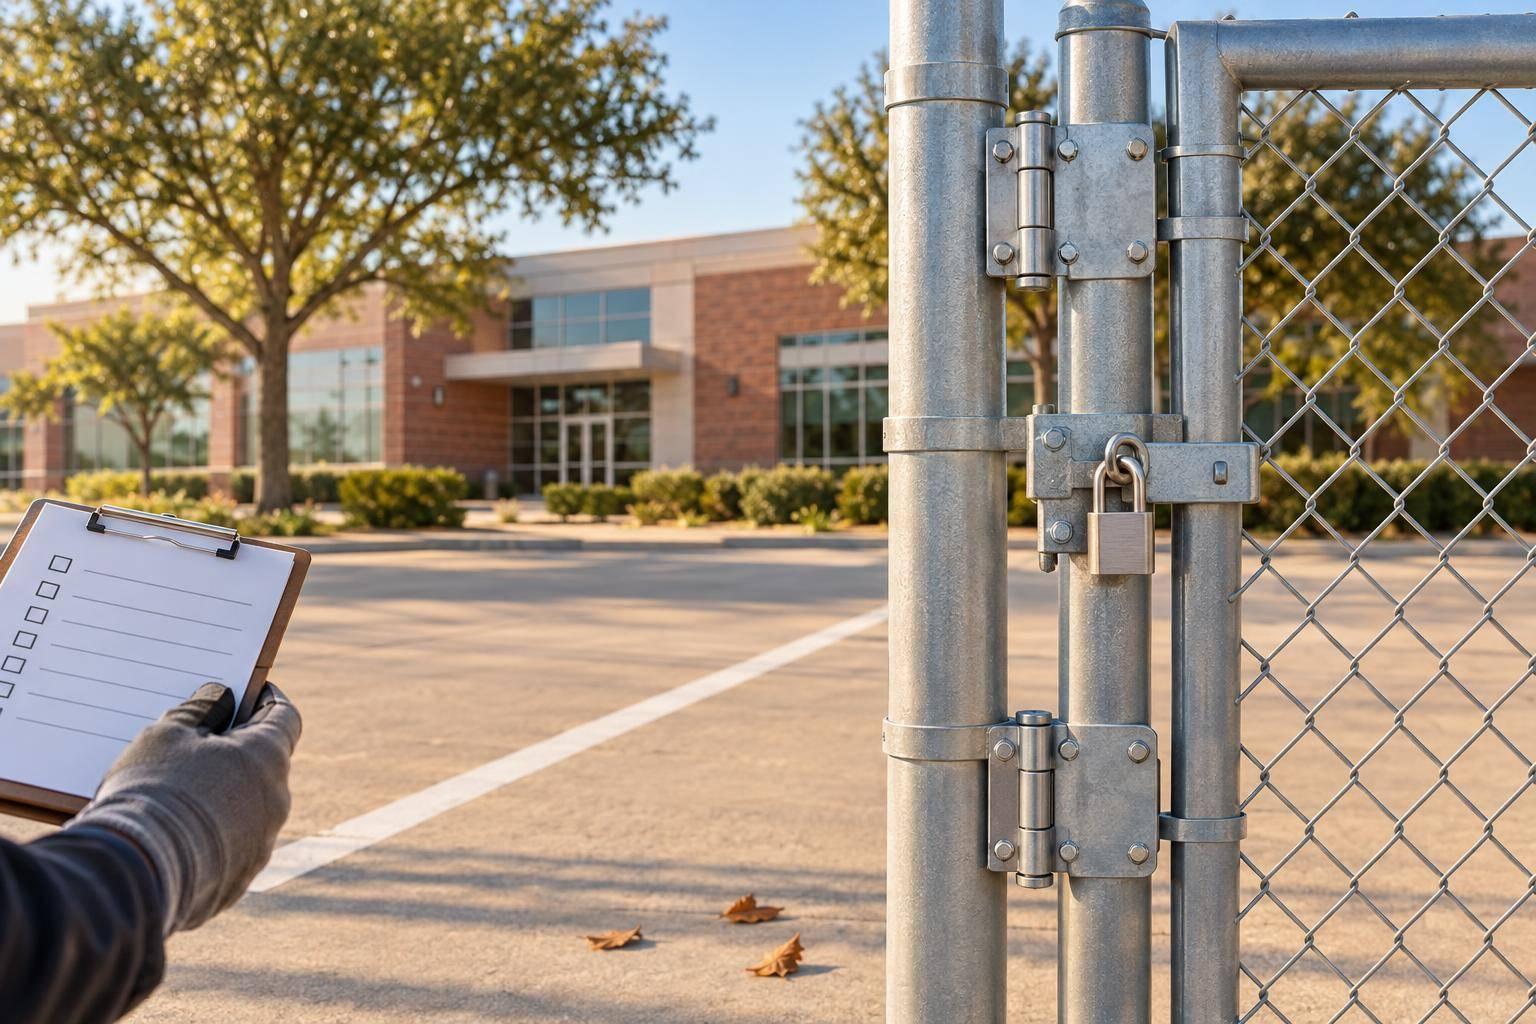
I recommend checking commercial fence hardware at least 4 times a year – and after storms or impacts. On your Plano property, start with gates that drag, fail to latch, or block an exit. Keep people away from unsafe equipment without blocking required exits.
Here’s what I check and track:
- Gates and fence hardware: Alignment, hinges, closers, latches, access controls, ties, bands, and fasteners.
- Seasonal wear: Storm damage, heat-related binding, drainage problems, corrosion, and frozen parts.
- Repair follow-through: Photos, test results, a named repair owner, and a deadline for each defect.
- Safe return to use: Retest repairs and leave powered-gate safety checks to qualified personnel.
My rule: <u>prioritize safety and security over appearance</u>. If the same defect keeps returning, assess the posts, drainage, and parts before paying for another repair – or planning replacement.
Inspect Gates and Fence Hardware
Inspect each asset in the order below: gate hardware, access controls, then chain-link framing. Use the same sequence every time. Record measured gaps in inches and exact test results, and attach photos of defects. Keep observations separate from suspected causes.
Check Gate Alignment, Hinges, and Closers
Dragging, binding, and latch failure are often the first signs of alignment problems.
- Inspect mounting fasteners and hinges. Check hinge, closer, frame, and post hardware for missing fasteners, loose nuts, elongated holes, cracked welds, or bent brackets. Check hinge pins, bearings, and retainers for wear, bending, cracks, corrosion, or missing retainers.
- Check posts and footings. Look for leaning posts, movement, settlement, impact displacement, washout, or exposed footings. Refer unstable supports for qualified assessment.
- Measure alignment and clearances. With the gate closed, check for consistent gaps at the frame, latch, ground, and adjacent fence. Record sagging, rubbing, and uneven clearances. Do not adjust hardware to hide post movement.
- Test authorized manual movement. Cycle manual gates through their full travel without forcing them. Note grinding, excessive play, uneven resistance, or failure to stay aligned. Never force, disconnect, or bypass a powered gate.
- Verify controlled closing. Let the closer operate normally. Confirm that the gate closes fully and the latch engages the keeper or strike every time. Check for loose closer mounts, abnormal noise, inconsistent closing speed, fluid leaks, or impact damage. Follow the manufacturer’s settings and lubrication instructions.
Test Latches, Access Controls, and Security Fasteners
Coordinate testing with authorized personnel. Test normal entry and authorized exit separately. Follow approved procedures when testing emergency-release and power-loss behavior.
Inspect strikes, keepers, drop rods and sockets, lock boxes, reader mounts, and wiring enclosures. Check security fasteners for missing parts, tool marks, or substitutions with standard bolts. Use compatible replacements and follow specified tightening requirements.
Use the findings to set repair priorities during the same inspection cycle.
| Observed condition | Immediate action | Repair priority |
|---|---|---|
| Latch fails to engage or required exit release fails | Apply approved temporary controls without blocking required egress; notify the manager and qualified gate/access-control technician | Emergency/high – address immediately |
| Fastener is loose but intact; bracket and hole are undamaged | Tighten or replace to specification, then retest; barricade if movement affects safe use | Medium – schedule promptly; escalate recurring looseness |
| Surface corrosion without metal loss, sharp edges, or impaired operation | Clean, treat, restore the specified protective coating, and monitor | Low to medium – escalate if strength or function is affected |
Log access-control failures separately from mechanical defects. Record the failed function, test time, credential or operating mode, and whether the gate stayed secure or presented an egress risk. Closed does not mean latched.
After functional testing, inspect perimeter fabric and bracing for damage that affects security or clearance.
Check Chain-Link Ties, Bands, and Framework
- Inspect fabric and ties. From a safe position, look for missing, broken, loose, untwisted, displaced, or corroded ties. Check for cut fabric, stretched mesh openings, protruding wire ends, and openings large enough to create a security gap.
- Inspect terminal-post hardware. Check tension bands, tension bars, brace bands, rail-end fittings, and bolts for distortion, corrosion, and loose connections. Look for displaced tension bars and fabric pulling away from posts.
- Inspect framework and bracing. Examine top rails, bottom rails or tension wire, sleeves, line-post connections, braces, truss rods, turnbuckles, and fittings. Check for bends, corrosion, separated sleeves, loose connections, sagging, impact displacement, and gaps beneath or beside the fabric.
Use specified replacement hardware and spacing. Do not overtighten bands, ties, brace fittings, or truss hardware to compensate for shifted posts or failed footings.
Restrict access where sharp projections, unstable framework, or openings create an immediate safety or security risk. Arrange controlled removal of protruding wire ends using gloves and eye protection. Retest repairs to confirm a secure fit without distortion.
sbb-itb-d1d0a96
Add Seasonal Checks for Plano Weather
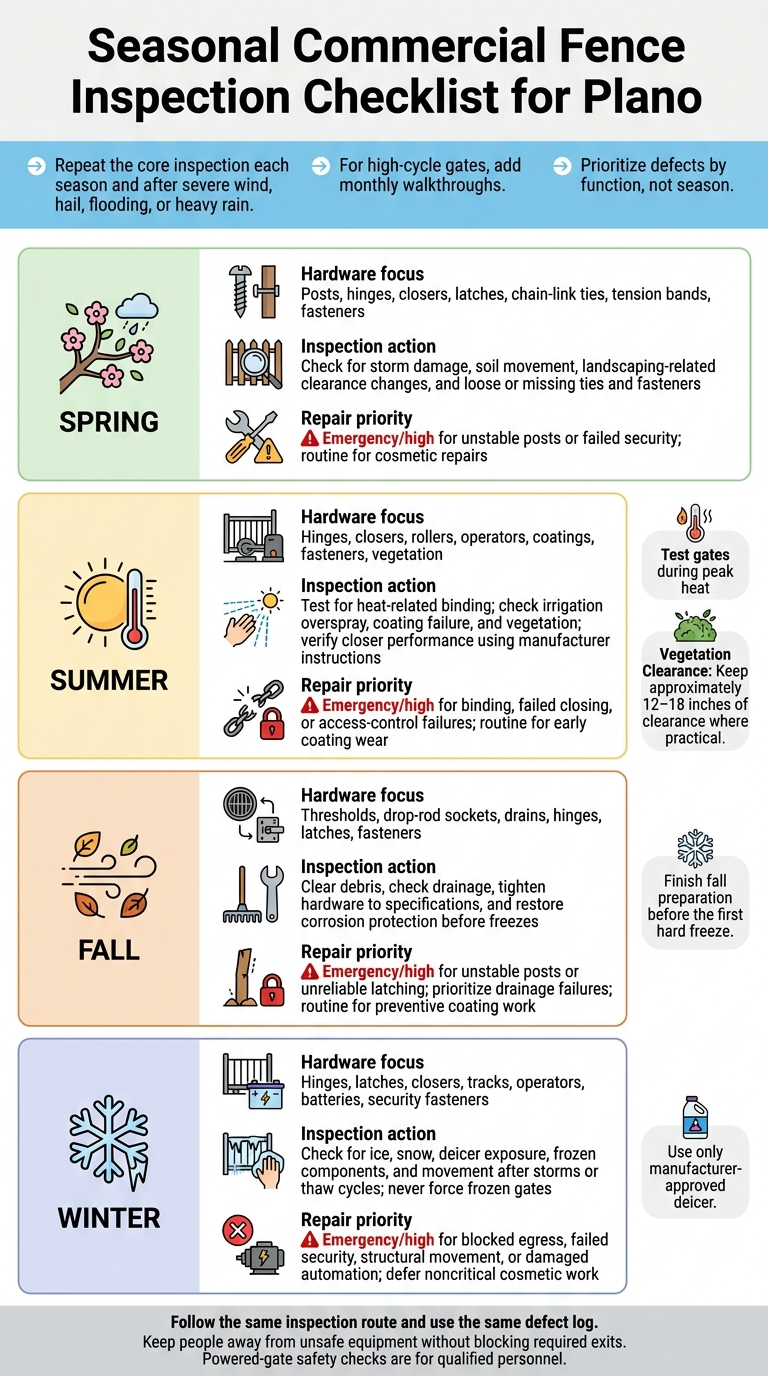
Seasonal Commercial Fence Inspection Checklist for Plano
Repeat the core inspection each season and after severe wind, hail, flooding, or heavy rain. For high-cycle gates, add monthly walkthroughs. North Texas heat, changes in soil moisture, and freezes can affect posts, hinges, closers, latches, ties, bands, and fasteners between visits. Prioritize defects by function, not season.
Follow the same inspection route and use the same defect log, adding the weather-specific checks below.
| Season | Hardware focus | Inspection action | Repair priority |
|---|---|---|---|
| Spring | Posts, hinges, closers, latches, chain-link ties, tension bands, fasteners | Check for storm damage, soil movement, landscaping-related clearance changes, and loose or missing ties and fasteners | Emergency/high for unstable posts or failed security; routine for cosmetic repairs |
| Summer | Hinges, closers, rollers, operators, coatings, fasteners, vegetation | Test for heat-related binding; check irrigation overspray, coating failure, and vegetation; verify closer performance using manufacturer instructions | Emergency/high for binding, failed closing, or access-control failures; routine for early coating wear |
| Fall | Thresholds, drop-rod sockets, drains, hinges, latches, fasteners | Clear debris, check drainage, tighten hardware to specifications, and restore corrosion protection before freezes | Emergency/high for unstable posts or unreliable latching; prioritize drainage failures; routine for preventive coating work |
| Winter | Hinges, latches, closers, tracks, operators, batteries, security fasteners | Check for ice, snow, deicer exposure, frozen components, and movement after storms or thaw cycles; never force frozen gates | Emergency/high for blocked egress, failed security, structural movement, or damaged automation; defer noncritical cosmetic work |
Spring and Summer: Check Storm Damage and Binding
Recheck the hardware from your core inspection, looking for weather-related changes in alignment, clearance, and finish.
After spring storms, inspect hinge and latch posts for washout, settlement, or movement. Check whether recent landscaping has reduced clearance or blocked drainage. Measure clearances and test gate operation again.
Test gates during peak heat, not just on a cool morning. Record the temperature, traffic, and any dragging or incomplete closing. As temperatures and traffic change, recheck closer performance using manufacturer instructions. Inspect sprinkler-exposed areas and spots with standing water for rust, coating failure, and mineral buildup. Trim vegetation away from gates, latches, access-control equipment, and chain-link fabric. Keep approximately 12–18 inches of clearance where practical.
Fall and Winter: Prepare Hardware for Freezes
As temperatures drop, shift from finding damage to preventing freeze-related problems. Finish fall preparation before the first hard freeze.
Clear leaves, soil, mulch, and debris from thresholds, drop-rod sockets, tracks, drains, and latch areas. Make sure water drains away from posts and gate equipment, and address pooling or washed-out soil before freezing weather arrives.
Tighten accessible bolts, nuts, hinges, tension bands, and brackets only to manufacturer-specified torque or adjustment limits. Remove surface corrosion, restore a compatible protective coating, and replace heavily corroded fasteners. Use only hardware-approved lubricants on moving parts; incompatible products can damage seals or attract debris.
During winter, never force a frozen gate or operate it against packed snow or ice. Clear thresholds, tracks, hinges, latch receivers, drop rods, and access-control components without striking or bending hardware. Use only manufacturer-approved deicer.
Check for salt or chemical residue, which can speed up corrosion, especially where different metals connect. Remove residue when conditions permit. After storms and thaw cycles, reinspect for changed clearances, water intrusion, and post movement. Check operator and battery performance in cold weather, too.
Create a Multi-Use Property Maintenance Plan
Turn inspection findings into zone-based repair schedules, with a named owner for every repair.
Set Inspection Zones and Check Frequencies
Create an asset register for each gate or fence section. Record the asset ID, zone, responsible owner or tenant, usage level, hardware group, compatible parts, last inspection date, and responsible person. Group hardware into hinges, closers, latches, operators, chain-link ties, tension bands, and security fasteners. Flag accessible routes and emergency access points so crews know which openings need an alternate plan before closure.
| Inspection zone | Hardware exposure | Recommended frequency | Test | Escalation trigger |
|---|---|---|---|---|
| Vehicle entrances and loading docks | Closer, latch, and operator wear; impacts | Monthly; weekly visual checks for active docks; after impact | Full cycle, clearance, latch, release, safety devices | Unsafe movement, failed latch, impact damage |
| Public pedestrian gates | Hinge, closer, and latch wear | Monthly | Alignment, closing, latching, access-control release, clear approach | Unsafe operation or blocked required egress |
| Parking areas and shared boundaries | Corroded or damaged ties, bands, and fasteners | Quarterly; after storms or vehicle contact | Posts, hinges, ties, bands, fasteners, alignment | Unstable post, sharp hardware, unsecured boundary |
| Restricted yards | Tampered security fasteners; controlled-release failure | Monthly or risk-based; before returning to service | Credentials, locking, controlled release, security fasteners | Entry without permission is possible or required release fails |
| Low-use gates | Seized hinges or latches; binding | Semiannually; before returning to service | Repeated full cycles and secure latching | Binding, seized hardware, uncertain operation |
| Emergency-access gates | Obstructed openings; lock or release failure | Per local requirements; after access-control changes and severe weather | Approved emergency opening method, clear passage | Responders cannot open or pass through |
These intervals are risk-based starting points, not universal requirements. Manufacturer guidance, applicable rules, actual use, and conditions after an event take priority.
Schedule repairs between delivery windows, and notify tenants and security before closing an opening. Confirm keys, override access, and lockout authority. Where needed, arrange barriers, signs, and a documented alternate route. Required exit routes must stay available during repairs unless equivalent protection is provided.
Turn each defect into a tracked work order with a clear deadline.
Record Defects and Set Repair Priorities
Each work order should include the defect, affected component, test result, photos, safety controls, required parts, named repair owner, and target completion date. Use the same register to rank repairs by safety and access impact – not convenience.
Assign Priority 1 – same-day action to unsafe or unsecured gates, failed latches, broken closers, unstable posts, compromised security fasteners, and blocked emergency exits or entry points. Control exposure immediately.
Use Priority 2 – within 7 days for deterioration that still allows safe operation, Priority 3 – within 30 days for noncritical repairs, and Priority 4 – planned work for upgrades. Shorten these deadlines whenever site risk or applicable requirements call for it.
Before closing a work order, record who verified the repair and the final cycle, security, and emergency-release test results. Confirm that routes are restored, then notify affected users.
Review overdue work monthly and recurring defects quarterly. Before repeating a repair, check whether drainage, settlement, incompatible parts, impacts, or missed inspections caused the repeated failure.
Conclusion: Repair Defects and Confirm Safe Use
Refer Serious Damage and Retest Repairs
Use the inspection log to sort defects into repairs, referrals, and replacement. Staff should repair only accessible fasteners, chain-link ties, and minor surface corrosion – and only within their training and the manufacturer’s limits. Refer bent frames, unstable posts, failed closers, damaged hinges, failed latches, cut fabric, and repeated alignment failures to qualified professionals.
Block unsafe access without blocking required egress. Never chain or padlock an exit that occupants must open from inside.
After repairs, check the specified clearances. Run a full open-close cycle from each side to confirm smooth movement, closure, and latching.
For powered gates, a running motor does not prove the gate is safe. Before returning it to service, qualified personnel must check the complete safety system, including entrapment protection, limits, controls, and manual release. Never bypass a failed safety device.
Plan Fence Installation or Replacement
When defects keep coming back, move from repair to replacement. Consider failing posts or foundations, corrosion across large areas, repair costs, downtime, and changes in traffic, access, drainage, and security needs.
For commercial fence installation or replacement in Plano, TX, Tend Fencing provides commercial fencing, custom gates, and chain-link solutions. Share inspection records, photos, dimensions, recurring defects, and site-use requirements to help get an accurate quote. Confirm the scope separately: an installation consultation does not include inspections, repairs, or powered-gate safety testing.
FAQs
How can I distinguish heat-related binding from gate sagging?
Watch how the gate moves at different times of day. Heat-related binding is often temporary. Direct sunlight or extreme heat causes materials to expand, which can create friction or misalignment. As temperatures drop, the gate may move more freely.
Gate sagging usually comes from worn hinges, loose hardware, or unstable posts. If the misalignment stays the same regardless of temperature, mechanical wear or shifting ground is more likely to blame than thermal expansion.
How do I choose corrosion-resistant replacement hardware?
Choose hardware that suits your climate and fence material to help it last longer and cut down on maintenance. For wood fences, use hot-dipped galvanized or stainless steel hardware to prevent corrosion and protect against chemical reactions. In coastal or humid areas, choose aluminum or vinyl-coated steel to resist salt air and moisture.
Use replacement fasteners rated for exterior use, and check them once a year for rust or looseness.
Who handles fence maintenance in shared commercial spaces?
Lease terms or property management contracts usually spell out who handles maintenance. Fences along property lines are often jointly owned and maintained unless a written agreement says otherwise.
Property owners or managers often turn to professional services like Tend Fencing for annual inspections, seasonal cleaning, and repairs. These services help keep fences and gate systems secure, working properly, and in line with local regulations.