Installing a fence can improve your home’s safety, privacy, and curb appeal. This guide breaks down everything you need to know about planning, materials, installation, and maintenance. Here’s the quick overview:
- Purpose Matters: Decide if you need the fence for privacy, security, or aesthetics. This influences material choice and design.
- Budget Wisely: Consider both upfront costs and ongoing maintenance. For example, wood costs $10–$30/ft but needs regular upkeep, while vinyl is $20–$45/ft and low-maintenance.
- Follow Local Rules: Check zoning laws, permits, and HOA guidelines to avoid legal issues.
- Choose Materials Carefully: Match materials to your climate – vinyl resists moisture, while sealed wood works well in dry areas.
- Plan Layout: Mark property lines, locate utilities, and draft a precise layout before starting.
- Install with Precision: Set posts correctly, use quality tools, and follow manufacturer instructions for assembly.
- Maintain Regularly: Clean and inspect your fence annually to extend its lifespan.
Whether you’re going DIY or hiring professionals, this guide will help you build a durable, functional, and visually appealing fence.
NO EXPERIENCE NEEDED on HOW TO BUILD a FENCE from START to FINISH | Gate Build and Fence Staining
Planning and Preparation
Taking the time to plan thoroughly can save you from costly mistakes, legal headaches, and design mishaps. Researching local rules, confirming property lines, and identifying your specific needs upfront can help you avoid setbacks later.
Local Regulations and Permits
Before starting any work, make sure you’re familiar with local fence regulations. In Massachusetts, these rules operate on two levels. The Massachusetts General Law Chapter 49 provides basic guidelines, but individual cities and towns can enforce stricter rules under their "home rule authority".
Fence height limits vary depending on location. For example, residential backyards generally allow fences up to 6 feet tall, while front yard fences are often capped at 3 or 4 feet to maintain visibility and an open streetscape.
If your fence exceeds 7 feet in height, state law requires a permit under the State Building Code. However, many towns require permits for nearly all fence installations, regardless of height. To avoid issues, check with your local building department or zoning board about permits, height limits, setbacks, and other specific requirements.
Certain materials are restricted for safety reasons. Barbed wire, razor wire, and broken glass are typically banned in residential neighborhoods. In areas where barbed wire or electric fences are allowed – such as rural or commercial zones – they must meet strict marking and safety standards. Additionally, "spite fences" (those over 6 feet tall built with the intent to annoy a neighbor) are considered a private nuisance under Massachusetts General Laws Chapter 49, Section 21.
If your property is part of a Homeowner’s Association (HOA), review their rules carefully. HOAs often have additional guidelines for fence design, materials, placement, and height. Ignoring these rules can lead to fines, forced removal, legal disputes, or even a drop in property value.
Once you’ve sorted out permits and regulations, the next step is to mark property boundaries and map out your fence’s layout.
Property Boundaries and Utility Location
Accurately marking property boundaries is essential. Building on a neighbor’s land, even unintentionally, can lead to legal disputes and expensive corrections. Hiring a Massachusetts-registered land surveyor to confirm boundaries is a necessary step before you begin.
Partition fence laws are another consideration. Fences built directly on a property line are considered jointly owned and maintained by both neighbors unless a written agreement states otherwise. This shared responsibility can influence both installation and future upkeep.
Locating underground utilities is also critical for safety. Contact 811 (Dig Safe) at least 72 hours before digging to have underground utilities – like gas lines, electrical cables, and water pipes – marked. This step helps prevent accidents and costly damage during installation.
While it’s not legally required, discussing your plans with neighbors is a considerate move, especially if you’re installing a shared fence. Clear communication can help prevent misunderstandings and conflicts down the road.
Once you’ve marked boundaries and identified utilities, you can focus on designing a precise layout.
Needs Assessment and Layout Design
After handling regulations and property boundaries, the next step is to create a layout that meets your needs. Start by defining the primary purpose of your fence. Whether you’re prioritizing privacy, security, or keeping pets safe, your design, materials, and height should align with your goals.
Draft a detailed site plan that includes measurements, gate locations, and any obstacles like trees, slopes, or existing structures. This level of planning ensures you order the right amount of materials and avoid unnecessary waste.
Think carefully about gate placement for convenience and consider future landscaping or property changes. Gates should open inward, not outward onto public sidewalks or streets. Adjust your fence line to navigate around obstacles like trees or utility boxes, which can help you avoid complications like tree removal or grading.
Timing is another factor to consider. Spring and fall are ideal for installation because of moderate temperatures and stable ground. Extreme weather or frost can make tasks like setting posts much more difficult.
Finally, double-check all measurements and ensure your layout adheres to local setback rules before ordering materials or starting construction. A little extra preparation up front can make the entire process smoother and more efficient.
Fence Styles and Materials
Finding the right fence style and material depends on what you need – whether it’s privacy, security, or staying within a budget.
Common Fence Styles and Their Uses
Wood fencing is a favorite for its natural look. Cedar is a great pick if you want built-in resistance to decay, while pressure-treated pine offers a more budget-friendly option with chemical protection. Wood fences are versatile, working well for privacy, marking property lines, or boosting curb appeal. Installation typically costs between $15 and $30 per linear foot.
Chain link fencing is all about durability and affordability. It’s perfect for keeping pets safe, securing a property, or enclosing large areas. While it’s not the most visually appealing option, it’s low-maintenance and built to last for decades. Expect installation costs in the range of $15 to $30 per linear foot.
Ornamental iron fencing blends security with a touch of elegance, making it ideal for front yards or decorative purposes. It’s durable and suits a variety of architectural styles. Pricing for residential-grade wrought iron starts at around $14 per linear foot for a 3-foot height and $22 per linear foot for a 6-foot height, with total installation costs falling between $28 and $56 per linear foot.
Vinyl fencing offers the look of wood without the hassle. It resists fading, cracking, and weather damage, requiring little upkeep. Vinyl fences cost about $25 per linear foot, with installation running between $20 and $45 per linear foot.
Aluminum fencing is lightweight yet durable, making it a popular choice for pool areas or front yards. It won’t rust and requires minimal maintenance, though it’s not as strong as steel or iron. Installation costs range from $35 to $60 per linear foot.
Comparing Materials: Pros and Cons
Choosing the right material means weighing factors like lifespan, maintenance, and cost. Here’s a breakdown to help you decide:
| Material | Lifespan | Maintenance Level | Cost Range (Installed) | Key Benefits | Main Drawbacks |
|---|---|---|---|---|---|
| Wood | 20 years | High | $15-$30/linear ft | Customizable, affordable upfront | Needs regular sealing/staining, prone to rot and insects |
| Vinyl | 20-30+ years | Very Low | $20-$45/linear ft | Weather-resistant, no painting required | Higher initial cost, may fade in intense sunlight |
| Chain Link | 20+ years | Low | $15-$30/linear ft | Affordable, durable, low upkeep | Limited privacy |
| Aluminum | 20+ years | Low | $35-$60/linear ft | Rust-resistant, decorative options | Less sturdy than steel, more expensive |
| Composite | 30-50 years | Very Low | $11-$57/linear ft | Long-lasting, low maintenance, eco-friendly | Higher upfront investment |
Wood demands the most upkeep, requiring annual sealing or staining to stay in good shape. On the other hand, vinyl and composite materials are nearly maintenance-free, making them appealing for busy homeowners despite their higher upfront costs.
Climate also plays a big role in how materials hold up. Humid areas can accelerate wood rot and attract insects, while extreme cold may cause vinyl to become brittle. Intense sunlight can fade darker vinyl colors over time. For windy regions, consider semi-private designs with spaced panels to reduce wind resistance and stress on the fence posts.
Custom Design Options with Tend Fencing
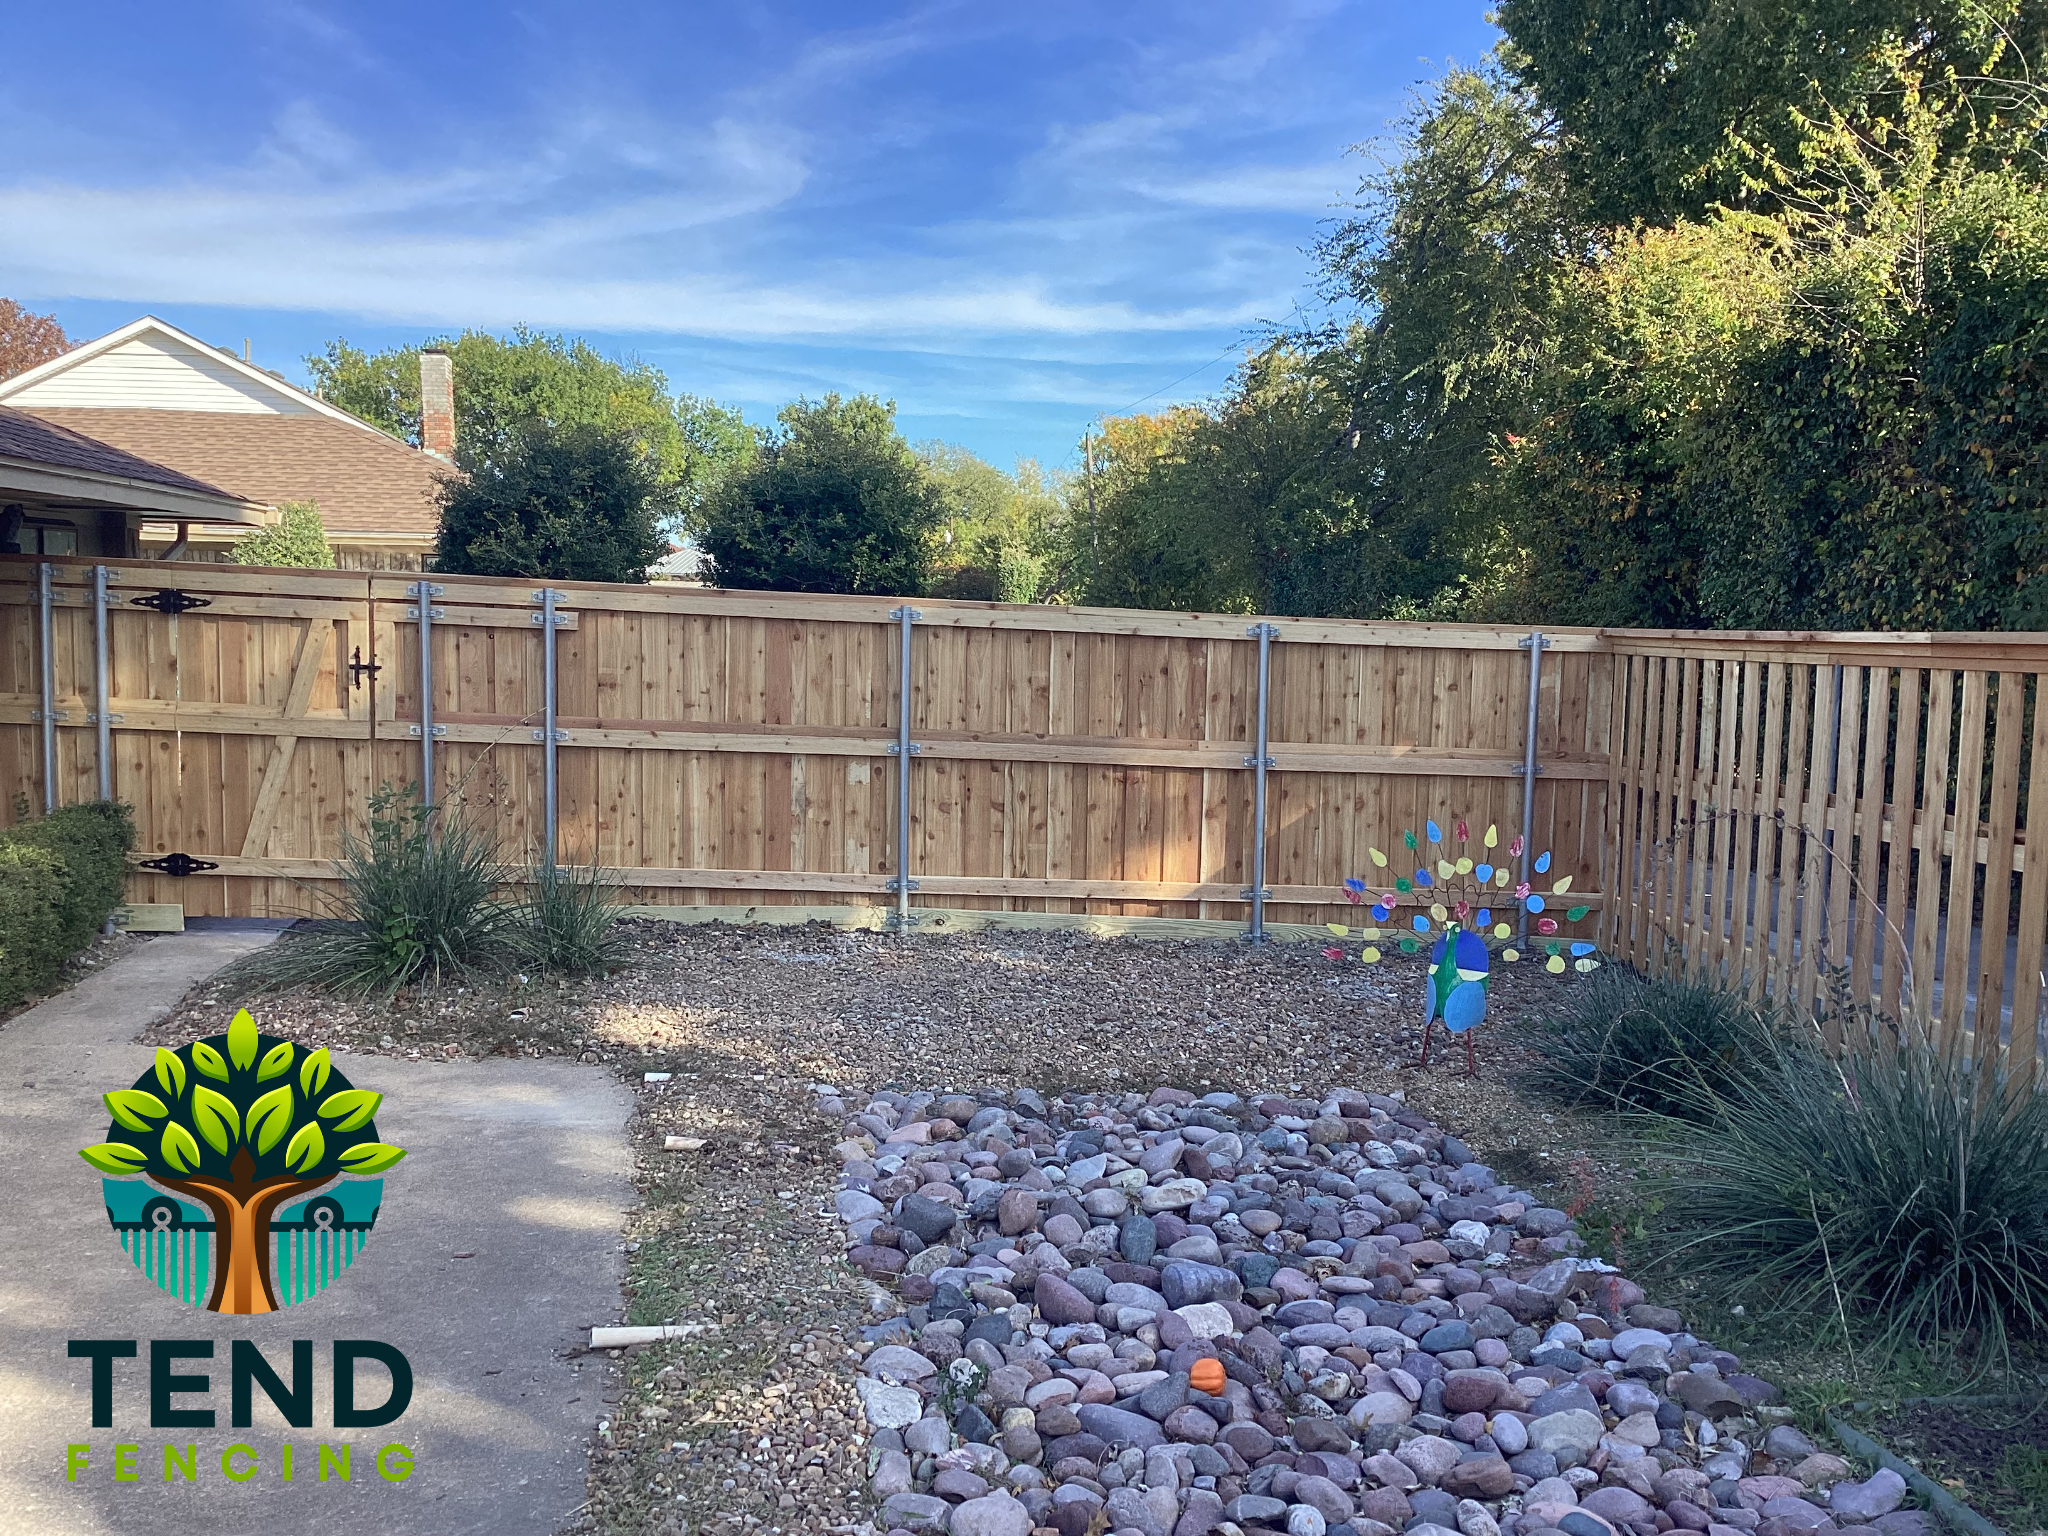
If you’re looking for a fence tailored to your property’s specific needs, Tend Fencing provides custom design solutions. Whether it’s cedar or pressure-treated pine for a natural look, ornamental iron that matches your home’s style, or automated systems for added convenience, Tend Fencing works to align your fence with both practical and aesthetic goals.
Their process starts by understanding your priorities – be it privacy, security, pet safety, or enhancing your home’s appearance. From there, they can incorporate decorative touches, varying heights, or features like automation to create a design that fits your property perfectly.
Professional help can be especially useful for challenging terrains, like slopes or areas with mature trees. Tend Fencing can design around these obstacles, ensuring your fence integrates seamlessly with existing landscaping or structures while staying functional and visually appealing.
To avoid delays or shortages during installation, it’s a good idea to purchase about 10% extra materials for adjustments or future repairs. Planning ahead ensures you’ll have matching materials on hand if any modifications are needed. Picking the right materials and design from the start sets the stage for a fence that meets your needs for years to come.
Tools and Materials Checklist
Getting everything ready before starting your fence project can save you a lot of time and hassle. A well-thought-out checklist ensures the installation process stays on track.
Installation Tools
Once you’ve finalized your planning and layout, gather the tools you’ll need for the job. Here’s a breakdown of the essentials:
Post digging equipment is a must-have. For smaller projects, manual post hole diggers work just fine. But if you’re dealing with multiple holes, gas-powered or electric augers can save time and effort. Renting these power tools is a smart option since buying them outright can be pricey.
Measuring and layout tools help keep your fence straight and evenly spaced. Stock up on ground stakes, mason’s line (string line), and a reliable tape measure to ensure precise alignment.
Cutting tools depend on the material you’re working with. A circular saw is versatile enough for wood, vinyl, and similar materials. For aluminum, a hacksaw offers better control, while chainsaws can make quick work of wood. Look for saws with adjustable depth settings and ergonomic handles to make longer tasks more manageable.
Assembly and fastening tools are crucial for putting everything together. A cordless drill with adjustable speed settings and a durable battery will make assembly much easier. You’ll also need hammers, galvanized nails, screws, and, if possible, fence pliers – handy tools that combine a hammer, wire cutter, and gripping function.
For wire fencing projects, specialized tools are key. Items like come-alongs, wire stretchers, stretcher bars, and crimping tools help ensure your fence has the right tension and secure connections. Without these, wire fences can sag over time.
A wheelbarrow is also incredibly useful for moving soil, gravel, and heavy materials like panels and posts around the job site.
Once you’ve gathered your tools, it’s time to focus on safety and preparation.
Safety Equipment and Site Preparation
Personal protective equipment is non-negotiable. Always wear gloves, safety glasses, and steel-toe boots to protect yourself during installation.
If you’re using power tools like circular saws or gas-powered augers, don’t forget hearing protection. Prolonged exposure to loud noises can cause permanent hearing loss.
Site preparation tools include shovels for clearing debris and a tamping tool to compact soil around posts, ensuring a sturdy base.
Keep a first aid kit within easy reach, and let someone know your work schedule – especially when working with heavy materials and sharp tools.
Lastly, plan your installation for dry weather. Wet conditions can make tools slippery and prevent concrete from setting properly, which could lead to unnecessary delays.
sbb-itb-d1d0a96
Installation Process Step-by-Step
Follow these steps to ensure a smooth and efficient installation process.
Site Clearing and Fence Line Marking
Start by clearing the fence line of any obstacles like rocks, debris, and vegetation. Trim back tree branches or bushes to create at least 3 feet of working space on both sides of the fence line.
Next, mark the perimeter using ground stakes and a mason’s line. Place stakes at each corner and planned gate location, then stretch a string line between them. Mark the spots for each post along the line using spray paint or small flags. For most residential fences, posts are spaced about 6 to 8 feet apart.
Once the fence line is marked, you’re ready to move on to setting the posts.
Post Installation
Dig holes to a depth of one-third the fence height plus 6 inches (e.g., 30 inches deep for a 6-foot fence). The hole diameter should be three times the width of the post. Add 4–6 inches of gravel at the bottom of each hole to improve drainage before placing the posts.
Use a level to ensure each post is perfectly vertical. While one person holds the post steady, fill the hole with concrete mix. Stop filling when the concrete is about 2 inches below ground level, and slope the surface away from the post to direct water away. Let the concrete cure for 24 to 48 hours before moving to the next step.
Once the posts are firmly set, you can start attaching the fence components.
Rails, Panels, and Gate Installation
Attach the fence components according to the specific instructions provided with your product. These instructions will have the most accurate and up-to-date guidance for your installation process.
For gates, pay attention to the design of the posts, as many are universal and require fittings to be attached during installation. Gate hinges may vary – some are fixed, while others are adjustable. Follow the manufacturer’s specifications carefully, and test the gate to ensure it swings smoothly and latches securely.
Final Inspection and Adjustments
Inspect the entire fence to confirm proper alignment, secure fastenings, and even spacing. Check for loose screws, uneven panels, or misaligned components that could affect the fence’s appearance or stability.
Use a level to confirm that horizontal rails are straight and vertical posts are plumb. Make any necessary adjustments while tools and materials are still on hand.
Finally, test the gate. It should latch securely and swing freely without scraping the ground or hitting nearby fence sections. Adjust the hinges or trim the gate if needed to ensure proper clearance.
This inspection ensures your fence is well-constructed and matches your initial design. While this guide covers general steps, always consult your product supplier for additional support and information specific to your fence type.
Wrap up by cleaning the work area. Remove any leftover concrete and dispose of construction debris responsibly, leaving the space around your new fence safe and tidy.
Maintenance and Troubleshooting
Taking care of your fence not only keeps it looking good but also helps it last longer and saves you from costly repairs. Regular upkeep and timely fixes ensure your fence stays in great shape year after year.
Regular Maintenance Tasks
Wood fences demand the most care. Every spring, check for loose boards, nails sticking out, or any signs of rot. Use a low-pressure washer to clean the surface, keeping the nozzle at least 12 inches away to avoid damage. Reapply stain or sealant every 2–3 years, or sooner if you notice graying or cracks. Be sure to use products suited to your wood type – clear sealers work well for cedar to maintain its natural tone, while semi-transparent stains enhance the look of pressure-treated pine.
Vinyl and composite fences are easier to maintain but still need periodic cleaning. Wash them twice a year with mild soap and water, focusing on areas near sprinklers where mineral deposits can accumulate. For mildew, use a solution of one part bleach to ten parts water, and rinse thoroughly afterward.
Metal fences require rust prevention as a key part of their care. Inspect them annually, especially after storms, for any damage to the protective coating. Touch up chipped areas with matching paint right away to stop rust from spreading. For ornamental iron fences, use a wire brush to remove surface rust, then apply a rust-inhibiting primer before repainting.
Gate hardware also needs attention. Lubricate hinges twice a year, check that latches are aligned, and tighten bolts to keep everything secure and functioning properly.
Once maintenance is handled, you’ll want to tackle common repair issues to keep your fence in top condition.
Common Problems and Repairs
Leaning or loose posts often result from poor drainage or shifting soil. Fix this by exposing the footing, adding fresh concrete, and resetting posts that are severely leaning.
Sagging gates are usually due to worn hinges or an unstable gate post. Replace hinges showing signs of wear or rust. If the gate post is moving, reinforce it with additional concrete or consider installing a gate support wheel to reduce strain on the hinges.
Warped or damaged boards in wood fences can sometimes be straightened if addressed early. Secure warped boards with screws or brackets, but replace any that are beyond repair. When replacing boards, try to match the wood’s grain and age to the surrounding fence for a consistent look.
Gaps under the fence are common as soil settles or erodes. Fill small gaps with soil and reseed the area. For larger gaps, consider adding a bottom rail or applying gravel to minimize further erosion.
Staining and discoloration on vinyl fences can often be removed with targeted cleaning. For tough stains, use a paste made from baking soda and water. Avoid abrasive cleaners, as they can scratch the surface and make future stains harder to clean.
If these repairs feel overwhelming or beyond your skill set, you can always call in the pros.
Tend Fencing Support Services
For those who prefer professional care, Tend Fencing offers a full range of maintenance services for all fence types, from routine cleaning and sealing to major repairs and replacements.
Their maintenance program includes annual inspections to catch problems early, seasonal cleaning to keep your fence in top shape, and fast repair services for any issues that arise. By addressing small problems before they grow, Tend Fencing helps you avoid costly repairs down the line.
When repairs or upkeep go beyond what you can handle, Tend Fencing’s licensed and insured technicians are ready to help. They bring the same precision to maintenance as they do to new installations. With a deep understanding of how different materials age, they can recommend the best care schedule for your fence, taking into account the local weather and conditions.
If your fence needs more than basic upkeep or you’d rather leave the work to the experts, reach out to Tend Fencing for a consultation. Their team can often restore an older fence to like-new condition while helping prevent future problems.
Key Takeaways for Successful Fence Installation
Installing a fence successfully requires thoughtful planning, careful execution, and ongoing care.
Start with a solid plan. Look into local regulations and permits, clearly mark your property lines, and measure the fence line to calculate material needs. It’s also a good idea to talk with neighbors who share property boundaries to avoid misunderstandings later.
Precision during installation is essential for durability. Begin by accurately marking the fence line, and make sure your posts are plumb and evenly spaced. Whether you’re using concrete or another method to secure the posts, consistency is critical to ensuring the fence stays sturdy. Don’t rush – allow proper curing times for the posts to set correctly.
The materials you choose will impact performance and upkeep. For example, wood offers a classic look but requires regular maintenance. Vinyl and composite options demand less upkeep but come with a higher upfront cost. Metal fences provide excellent security but may need periodic rust prevention to stay in top shape.
Sometimes, it’s worth bringing in the pros. Professional help can save time and reduce errors. If your project involves tricky conditions like uneven ground, multiple gates, or challenging soil, hiring experts might be the best move. Tend Fencing’s licensed and insured technicians specialize in precise installations and maintenance, ensuring your fence is built to last.
FAQs
What should I consider when choosing a fence material for my climate and maintenance preferences?
When choosing a fence material, you’ll want to think about your local weather and how much time you’re willing to spend on maintenance. Here’s a breakdown of popular options:
- Vinyl fencing is a low-maintenance option that stands up well to moisture, rot, and insects. It’s a solid choice for areas with lots of rain or snow. However, in extremely cold temperatures, it can become brittle and may crack.
- Wood fencing gives a classic and natural look but comes with higher maintenance demands. Over time, it can warp, rot, or attract insects, so regular sealing, staining, or painting is necessary to keep it in good shape.
- Composite fencing, made from a mix of wood fibers and recycled plastic, offers the look of wood with added durability. It resists moisture and UV damage, making it a low-maintenance alternative to traditional wood.
- Aluminum fencing is lightweight, rust-resistant, and easy to maintain, making it a practical metal option. On the other hand, steel fencing is stronger and more durable but could rust if its protective coating gets damaged.
By considering your local climate and how much upkeep you’re comfortable with, you can find a fence material that fits your needs for durability, style, and maintenance.
How can I make sure my fence installation follows local rules and avoids legal problems?
Before installing a fence, it’s crucial to ensure everything is in line with local rules to avoid potential headaches down the road. Start by checking your city or county regulations – these often cover specifics like fence height, placement, and the types of materials you can use. Depending on where you live, you might also need a permit, which usually requires submitting your plans and paying a fee.
Next, confirm your property boundaries with a professional survey. This step helps you avoid any disputes with neighbors over where the fence should go. If you’re part of a homeowners’ association (HOA), make sure to review their rules on approved designs and materials. While you’re at it, consider giving your neighbors a heads-up about your plans – it’s a simple way to keep things friendly.
Don’t forget to call your local utility companies to mark any underground lines before you start digging. For added peace of mind, you might want to consult a professional contractor. They’ll know the ins and outs of local codes and can help ensure your fence is both safe and compliant.
How can I properly mark my property boundaries and locate utilities before installing a fence?
Before you dive into installing your fence, make sure you’re clear on your property lines and steer clear of any buried utilities. Start by checking your property deed or survey, which should outline the exact boundaries of your land. If you’re unsure or don’t have access to these documents, it’s a good idea to hire a professional surveyor to mark the lines for you.
Next, reach out to your local utility companies by dialing 811. They’ll send someone to mark any underground utility lines, helping you avoid hitting pipes, cables, or other important infrastructure while digging. Once your property lines and utilities are accounted for, use tools like stakes, string, or spray paint to outline where your fence will go. These precautions can save you from legal headaches and make the installation process much smoother.