Installing a fence can be a complex project, but a step-by-step checklist simplifies the process and helps avoid costly mistakes. Here’s what you need to know:
- Define your needs: Determine if your fence is for privacy, security, pet containment, or aesthetics. Match the style to your home’s design.
- Plan your budget: Costs range from $13–$35 per linear foot, with higher rates in urban areas. Factor in materials, labor, permits, and maintenance.
- Check regulations: Verify property lines, review local zoning laws, and secure permits. Follow HOA guidelines if applicable.
- Prepare the site: Measure and mark the fence line, contact 811 to locate utilities, and clear the area before digging.
- Choose materials: Options include wood (classic but high maintenance), vinyl (durable and low upkeep), aluminum (rust-resistant), and chain link (affordable for large areas).
- Install step-by-step: Set posts with concrete, attach panels, and ensure gates are properly aligned.
- Maintain your fence: Regular inspections, cleaning, and protective finishes extend the lifespan of your fence.
Taking the time to plan carefully ensures a durable, compliant, and visually pleasing fence for your property.
DIY Fence Installation Guide: A Comprehensive How to Install a Fence Tutorial by Buy Sheds Direct
1. Determine Your Fencing Requirements
Before you dive into hiring contractors or picking materials, take a step back and figure out exactly what you need from your fence.
1.1 Decide Why You Need a Fence
Start by defining the main purpose of your fence. This will guide your choices for materials, design, and layout. For example:
- Privacy: Solid panels or tightly spaced pickets are your best bet.
- Security: Look for sturdy materials like aluminum or wrought iron, ideally with deterrent designs.
- Pet Containment: Tailor the height and spacing based on your pet’s size and behavior.
- Curb Appeal: Choose styles and materials that complement your home’s design.
By focusing on your primary goal, you can avoid spending money on unnecessary features.
Once you’ve nailed down the purpose, think about which areas of your property will benefit most from fencing.
1.2 Choose Areas to Fence and Match Your Home Style
Instead of fencing your entire property, focus on key areas, like the backyard for privacy or the front yard to boost curb appeal. Make sure the fence style aligns with your home’s architecture. For instance:
- A home with brick accents might look great with a fence that incorporates similar elements.
- Natural wood siding pairs beautifully with a wood fence.
Also, consider practical factors like slopes or obstacles (e.g., mature trees) when planning the layout.
Now, let’s talk numbers. Fence installation costs typically range from $13 to $35 per linear foot. However, in pricier areas like New York City, costs can jump to $22.50 to $62.07 per linear foot. For a standard 100-foot fence, that’s between $3,000 and $7,000 or more.
Think beyond the upfront cost. While wood fences might seem cheaper initially, they require annual maintenance costing $0.75 to $1.50 per linear foot, which can add up to or even surpass the installation cost over 20 years. On the other hand, materials like vinyl, aluminum, or composite are much lower maintenance, with annual costs of just $0.05 to $0.15 per linear foot.
To stay on budget, get at least three detailed quotes that cover material, labor, permits, and prep work. Don’t forget to set aside an extra 10–20% for unexpected expenses.
2. Check Local Rules and Get Permits
Before you start building, it’s crucial to understand the local regulations surrounding fences. This includes zoning laws, building codes, and any specific rules set by your city or homeowners association (HOA).
2.1 Review City Rules and HOA Requirements
Cities typically have baseline rules for fence installations. For instance, many cities, such as Cleveland and Akron, require a building permit for fences taller than 6 feet. Additionally, certain materials like barbed wire or electric fencing are often banned in residential neighborhoods.
HOAs, on the other hand, may impose stricter guidelines. These can include restrictions on the fence’s style, color, and height. If your property is located in or near a historic district, you may also need to adhere to special rules about materials and designs to preserve the area’s character.
2.2 Confirm Property Lines and Apply for Permits
To avoid disputes, verify your property lines by reviewing official records or hiring a licensed surveyor. Once you have the boundaries confirmed, reach out to your local building department to understand the specific permit requirements for your project. This step ensures your fence complies with all local regulations.
3. Plan and Prepare Your Site
With permits secured and property lines confirmed, it’s time to prepare your installation site. Careful planning at this stage can save you from making costly mistakes later on.
3.1 Measure and Mark Your Fence Line
Start by measuring the exact perimeter of your fence. Use stakes and string to mark key points along the fence line. Pay extra attention to corner and end posts – these require larger dimensions and deeper holes to provide the necessary support for the fence panels. Once your layout is defined, double-check to ensure no utility lines will be affected by your digging.
3.2 Call Utility Companies and Clear the Work Area
Before you dig, contact 811 at least 2–5 business days in advance to have public utilities marked.
"There are more than 100 billion feet of underground utilities in the United States. That figure equates to more than one football field’s length (105 yards) of buried utilities for every man, woman and child in the U.S." – Common Ground Alliance (CGA)
Underground utilities are accidentally damaged every three minutes in the U.S., costing about $30 billion annually. The leading cause of this damage? Failing to contact 811 before digging.
When you call 811, provide your address, county, nearest cross street, and details about your project, including where you plan to dig for post holes. Utility companies will send professionals to mark public utilities using a standardized color system:
- Red: Electric power lines
- Yellow: Gas and oil lines
- Orange: Communication and telephone lines
- Blue: Drinking water lines
- Green: Sewer and drain lines
- Purple: Reclaimed water and irrigation systems
Keep in mind that 811 only identifies public utilities, which run from the street to your service meter. For private lines – like sprinkler systems, outdoor lighting, or electrical connections to detached garages – you’ll need to hire a private utility locator. These services typically range from $500–$750, but costs can climb to $1,500 or more if ground-penetrating radar is needed.
Once utilities are marked, clear the work area. Remove debris, rocks, and any vegetation along the fence line. Be cautious – some utilities may be buried just inches below the surface. If lines are too close to your planned fence, adjust the placement accordingly. After clearing the site, inform your neighbors about the project timeline.
3.3 Tell Your Neighbors About the Project
Take the time to notify your neighbors, especially those along shared property lines, about your plans. Share your survey results and project timeline. Neighbors can often provide useful information about underground utilities, past landscaping efforts, or drainage issues that might impact your installation.
Document all conversations and agreements with your neighbors regarding access, cleanup, and construction schedules. If your fence will replace an existing boundary marker or affect shared maintenance areas, consider putting these agreements in writing to avoid misunderstandings down the road.
sbb-itb-d1d0a96
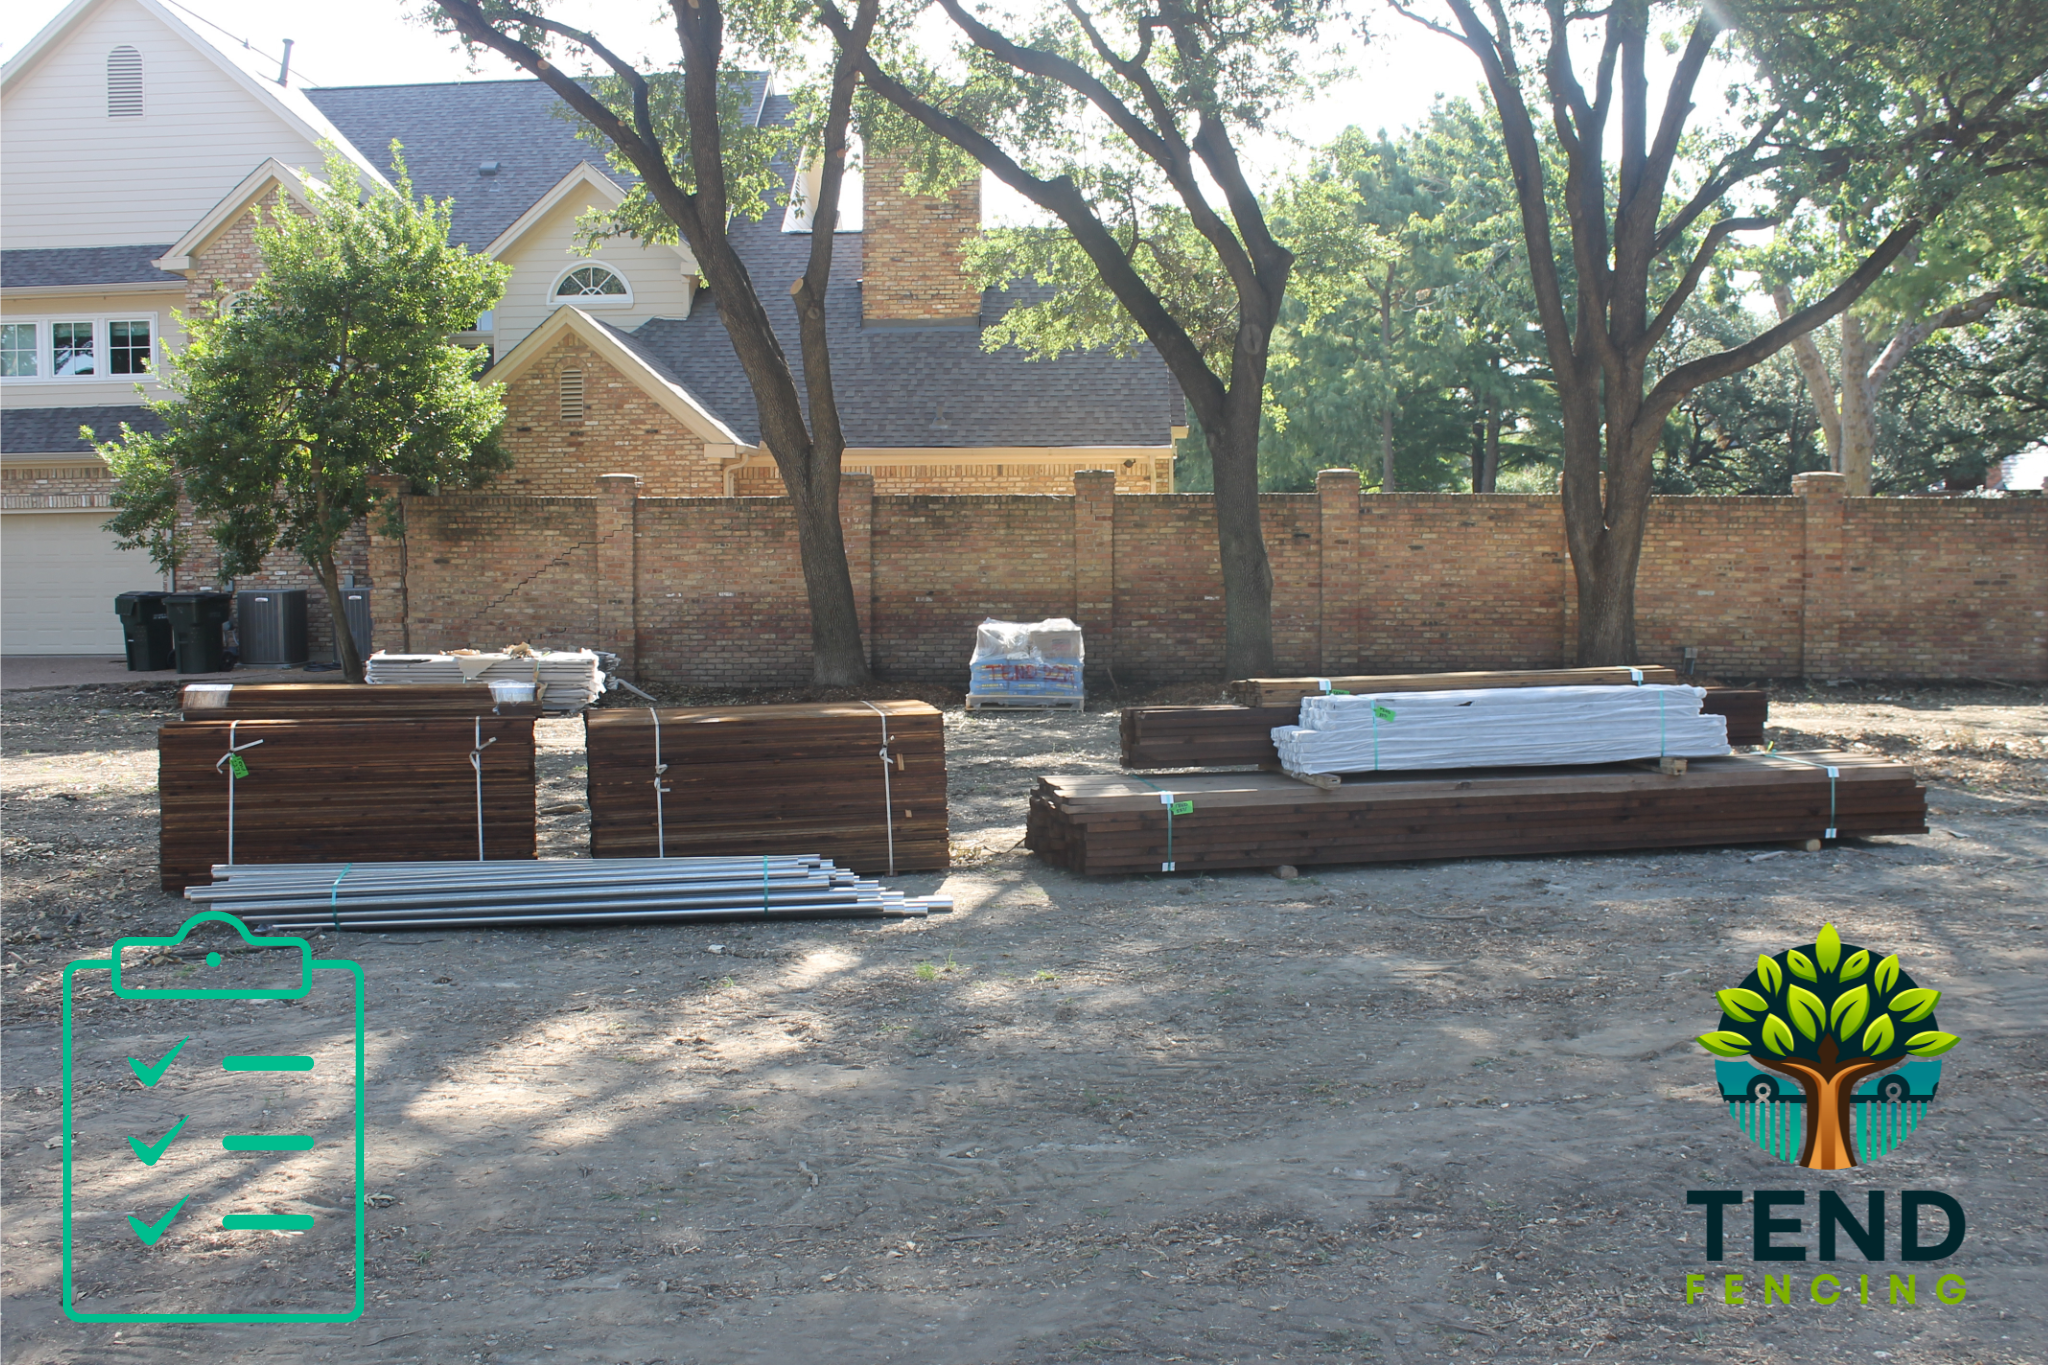
4. Pick Materials and Gather Tools
Choosing the right materials and tools is a critical step in building a fence that meets your needs. The materials you select will influence not only the initial cost but also the upkeep and lifespan of your fence. Once you’ve decided on materials, ensure you have the tools necessary to complete the job efficiently.
4.1 Select the Best Fence Materials
Your choice of fencing material should reflect your budget, maintenance preferences, and the look you want to achieve. Each material has its own strengths and trade-offs.
- Wood fencing is a classic favorite. Cedar and redwood naturally resist insects and decay, though they come with a higher price tag. Pressure-treated pine is more affordable – about 30-40% cheaper than cedar – but will need more frequent upkeep.
- Vinyl fencing is a low-maintenance option that lasts decades. While it costs about 20-30% more than wood upfront, vinyl can endure 20-30 years with minimal care. It resists fading, cracking, and warping, making it a great choice for areas with harsh weather.
- Chain link fencing is the most budget-friendly option for large spaces, costing 50-60% less than wood or vinyl. Galvanized versions are durable and secure, while vinyl-coated options offer more color choices.
- Ornamental iron and aluminum fencing provide a high-end appearance. Aluminum is rust-resistant and ideal for coastal areas, while iron offers unmatched strength and a timeless look, though it requires occasional painting to prevent rust.
| Material | Initial Cost | Lifespan | Maintenance Level | Best For |
|---|---|---|---|---|
| Pressure-Treated Pine | Low | 10-15 years | High (annual staining) | Budget-friendly projects |
| Cedar/Redwood | Medium-High | 15-25 years | Medium (stain every 2-3 years) | Natural look, moderate climates |
| Vinyl | Medium-High | 20-30 years | Very Low | Low-maintenance, extreme weather |
| Chain Link | Low | 15-20 years | Very Low | Security, large areas, budget projects |
| Aluminum | High | 20-30 years | Low | Coastal areas, decorative purposes |
| Iron | High | 20-50 years | Medium (periodic painting) | Premium appearance, maximum strength |
4.2 Collect Required Tools and Supplies
Having the right tools on hand will help avoid delays and ensure a smooth installation process.
- Digging tools: Use post hole diggers for uniform holes or a power auger for quicker work on longer fence lines. For rocky or clay soil, a digging bar or pickaxe may be necessary.
- Measuring and leveling tools: Accurate measurements are key. A 100-foot measuring tape works for most projects, while a string line helps create straight runs. Use a 4-foot level for plumb posts and a line level to maintain consistent panel heights.
- Concrete and mixing supplies: Fast-setting concrete simplifies the process – no water or mixing needed. Typically, one 50-pound bag is enough for a standard post, though larger posts may require two. Use a wheelbarrow and shovel if mixing traditional concrete.
- Fasteners and hardware: Choose galvanized or stainless steel screws and bolts to prevent rust. For wood fences, 2.5-inch galvanized deck screws work well for panels, while 3-inch screws are better for structural connections. Gate hardware should include heavy-duty hinges and a sturdy latch.
- Safety equipment: Protect yourself with safety glasses, work gloves, hearing protection, and steel-toed boots. These items safeguard against common hazards like splinters, sharp edges, and heavy materials.
For more complex projects, consider hiring professionals to ensure quality results.
4.3 Consider Professional Services for Custom Designs
Some projects are better left to the experts, especially when they involve intricate designs or challenging conditions.
- Custom designs: Unique features, elaborate patterns, or integration with existing structures often require specialized skills.
- Sloped terrain: Professionals know how to handle slopes using stepped or racked panels to maintain both functionality and appearance.
- Gate installation: Wider gates or automated systems demand precise alignment and proper structural support to work smoothly over time.
Professional services can also simplify logistics. Contractors manage material delivery, calculate quantities to reduce waste, and handle disposal of old fencing and debris. This saves you time and effort while ensuring a clean job site.
Additionally, professionals can assist with property line disputes, HOA approvals, or integrating your fence with existing landscaping or hardscaping. While hiring a contractor may increase upfront costs, their expertise often saves time and prevents costly mistakes, delivering polished results you can count on.
5. Install Your Fence Step by Step
Putting up a fence takes patience and precision. The way you install it directly impacts its durability and stability, so following the steps carefully is key.
5.1 Mark Post Locations and Install Posts
Start by marking where the posts will go – focus on corner and gate posts first. Posts should be spaced 6–8 feet apart. Use spray paint or stakes to mark the spots, and double-check your measurements before digging.
Dig holes to the right depth and width. A general rule is to bury about one-third of the post’s above-ground height. For example, a 6-foot fence requires holes 2 feet deep. Make the holes three times wider than the post diameter – a 4-inch post needs a 12-inch wide hole. In areas prone to freezing, dig 6 inches below the frost line to prevent movement during freeze-thaw cycles.
Set the posts with fast-setting concrete, which cures in 20–30 minutes. Start by adding 4–6 inches of gravel to the bottom of each hole for drainage. Position the post, then pour the concrete mix around it. Use a level to ensure the post is straight before the concrete sets.
Let the concrete cure before moving on. While fast-setting concrete hardens quickly, it takes 24–48 hours to fully cure. This step is especially important for corner and gate posts, as they handle the most stress.
Once the posts are firmly set and cured, you can move on to attaching the panels and gates.
5.2 Install Panels and Gates
Begin panel installation at a corner or gate post and work your way along. If you’re using pre-built panels, place each section between the posts and check for level using a 4-foot level. Secure the panels with galvanized carriage bolts or heavy-duty screws – use 2.5-inch screws for standard panels and 3-inch screws for structural connections.
Keep the height and spacing consistent. Stretch a string line between the corner posts to guide the tops of the panels. For uneven ground, you can either step the panels down in sections or rake them to follow the slope. Stepping is better for steep slopes, while raking works well for gentle inclines.
Pay extra attention when installing gates. Gate posts take a lot of wear and tear, so use heavy-duty hinges that can handle the gate’s weight. A 4-foot gate typically needs two 6-inch strap hinges, while wider gates may require three hinges or heavy-duty ball-bearing hinges. Install the top hinge first, then the bottom, ensuring the gate swings freely without sticking.
Align the gate with a 1/4-inch latch gap and 2–3 inches of ground clearance. Use shims to make adjustments if needed.
With the panels and gates in place, you’re ready to apply protective finishes.
5.3 Apply Protective Finishes
Prepare the surfaces by removing any mill glaze. Lightly sand glossy areas with 120-grit sandpaper, then clean off the dust with a tack cloth or compressed air.
Pick the right finish for your fence material and climate. For cedar and redwood fences, a semi-transparent stain highlights the natural grain and offers UV protection. Pressure-treated pine benefits from a solid-color stain, which provides maximum coverage and protection. In harsher conditions, look for stains with built-in UV blockers and mildewcide.
Apply finishes under the right conditions. Avoid staining in direct sunlight, high humidity, or temperatures above 85°F. Early mornings or late afternoons work best. Use a pump sprayer for large areas and back-brush with a natural bristle brush to ensure the stain penetrates the wood evenly.
Pay special attention to the end grain. Apply an extra coat within 2–4 hours for added protection.
Let the finish dry properly between coats and before exposing it to the elements. Most stains take about 24–48 hours to fully cure, depending on the weather. Check the forecast to avoid staining if rain is expected during this time.
For vinyl or metal fences, focus on cleaning and inspecting connections instead of applying finishes. These materials don’t need coatings, but secure fasteners and proper installation are key to long-term durability.
6. Make Your Fence Last and Look Good
Once your fence is installed, the work isn’t over. To keep it standing strong and looking great for years, you’ll need to focus on maintenance and thoughtful design choices. Here’s how to ensure your fence remains both durable and visually appealing.
6.1 Choose Quality, Weather-Resistant Materials
The materials you pick should be tailored to your local climate. Whether you’re dealing with salty coastal air, freezing winters, or blazing summer heat, the right material can make all the difference.
- Precast concrete: This material is built to handle extreme weather conditions, from storms to temperature swings, with minimal upkeep. It actually gets stronger over time and resists impacts, wind, and other environmental wear. While the initial cost may be higher, precast concrete offers decades of reliable performance.
- Aluminum: Lightweight yet strong, aluminum is naturally resistant to rust and corrosion, making it perfect for coastal areas or places with heavy rainfall. Powder-coating not only enhances its durability but also provides long-lasting color.
- Steel: When treated properly, steel is one of the toughest options out there. Galvanized or powder-coated steel resists rust and corrosion, even in humid or salty conditions, and handles wind and temperature changes with ease.
- Vinyl (PVC): Known for being low-maintenance, vinyl resists moisture, rot, insects, and fading. It’s designed to withstand temperature changes and strong winds, bending rather than breaking. Cleaning is as simple as using soap and water.
- Composite materials: Made from recycled wood fibers and plastic, composite fencing combines the natural look of wood with added durability. It resists rot, warping, cracking, and fading, all while requiring minimal care.
Choosing the right material not only ensures durability but also sets the foundation for a design that matches your home’s style.
6.2 Improve Appearance with Custom Designs
Your fence should do more than serve a functional purpose – it should also enhance your property’s aesthetic. Start by selecting a style that complements your home’s architecture.
- Material choices: Wood offers a classic, natural look and can be stained or painted to match your preference. Vinyl provides a durable option in a variety of colors and styles. For a sleek, modern vibe, aluminum and wrought iron are excellent choices. Composite materials combine the charm of wood with the resilience of synthetic materials.
- Fence styles: Picket fences add a traditional touch, while horizontal slat designs create a more contemporary feel. Privacy-focused options, like board-on-board or stockade styles, are great for seclusion. For a decorative flair, consider lattice-top fences with crisscross patterns.
- Height considerations: Taller fences (6–8 feet) are ideal for privacy, while shorter ones (3–4 feet) work well for defining boundaries in front yards or gardens without blocking the view.
To further personalize your fence, add features like matching gates, decorative post caps, or ornamental scrollwork. These details can elevate the look while also improving functionality.
6.3 Set Up a Maintenance Schedule
Regular upkeep is key to keeping your fence in top shape. A little effort each season can prevent costly repairs down the line.
- Inspect regularly: Check your fence in spring and fall for loose fasteners, leaning posts, damaged panels, or signs of rot and corrosion.
- Cleaning tips: For vinyl, aluminum, and steel fences, use a pressure washer on a low setting (1,500–2,000 PSI). For wood fences, stick to a garden hose and soft brush to avoid damage.
- Wood maintenance: Examine the stain or sealant annually and reapply protective finishes every few years, especially if you notice fading or peeling. Address mildew quickly with a diluted bleach solution (one part bleach to ten parts water), then rinse thoroughly.
- Vegetation control: Trim plants and vines growing near your fence, as they can trap moisture and lead to rot or staining. Keep at least a 6-inch gap between plantings and the fence to allow proper airflow.
- Track your efforts: Keep a record of maintenance activities, such as applying finishes, replacing hardware, or making repairs. This not only helps you stay organized but also serves as useful documentation for warranties.
Prepare for seasonal challenges by clearing debris, ensuring proper drainage before winter, and checking for frost heave or loose fasteners after storms. With these steps, your fence will stay sturdy and stylish for years to come.
Conclusion: Finish Your Fence Installation Successfully
Following this checklist turns what might feel like a daunting task into a series of straightforward steps. By planning carefully, understanding local regulations, preparing your site, and selecting high-quality materials, you’re setting the foundation for a fence that will stand strong for years to come.
Skipping key steps – like calling 811 or securing the right permits – can lead to unnecessary headaches, such as fines, damage to utilities, or even having to remove the fence entirely. Tackling each step in order not only helps you avoid these issues but also ensures your fence enhances both security and curb appeal.
Once you have a solid plan, you can decide whether to tackle the project yourself or bring in professionals. Hiring experts can be a smart move, especially for intricate designs, uneven ground, or ensuring the fence lasts over time. At Tend Fencing, we go beyond just installation. We’re familiar with local codes, use durable materials, and provide warranties to safeguard your investment. Plus, our commitment to planting a tree for every fence we build reflects how fencing can align with eco-friendly values.
With a well-thought-out approach, you can avoid costly mistakes and make the most of your investment. Many professional fencing contracts require only a 10–30% deposit, with final payment due upon completion and inspection, giving you peace of mind throughout the process.
FAQs
What are some common mistakes to avoid when installing a fence?
When it comes to putting up a fence, homeowners sometimes stumble into a few common pitfalls – like misjudging property boundaries, skipping necessary permits, or not setting fence posts correctly. These missteps can end up costing you both time and money, and in some cases, might even lead to legal headaches.
To steer clear of these problems, start by verifying your property lines. It’s also smart to reach out to utility companies so they can mark any underground lines before you start digging. Don’t forget to check local zoning laws and secure any required permits to keep everything above board. For a sturdy, long-lasting fence, make sure your posts are set at the right depth and are properly secured. A little extra effort in planning and precision can save you from big headaches down the road.
What’s the best fencing material for my climate and maintenance needs?
Choosing the right fencing material comes down to your local weather conditions and how much effort you’re willing to put into upkeep. If you live in a humid area or near the coast where salty air is a factor, vinyl or composite fencing is a smart option. These materials resist fading, warping, and rotting, all while requiring very little maintenance.
In regions with harsh winters and heavy snowfall, vinyl or treated wood are reliable choices. They can handle freezing temperatures and moisture without significant wear. Think about your climate and how much time you want to spend on maintenance – this will help you pick a fence that’s both practical and durable.
What should I do if my fence installation doesn’t comply with local regulations or HOA rules?
If your fence installation plan doesn’t align with local regulations or HOA guidelines, the first step is to thoroughly review the rules that apply to your property. Many HOAs require you to get approval before starting a fence project, and skipping this step could lead to fines or conflicts.
If there’s a disagreement, contact your HOA or local authorities to discuss your plans and see if adjustments can be made to meet their standards. Keeping the lines of communication open and addressing issues early can help you avoid penalties and ensure the installation process goes smoothly.